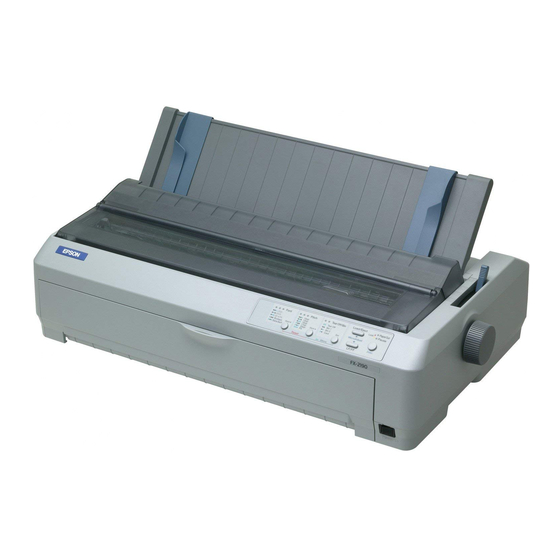
Epson 890N - FX B/W Dot-matrix Printer Produktinformation Handbuch - Seite 18
Blättern Sie online oder laden Sie pdf Produktinformation Handbuch für Drucker Epson 890N - FX B/W Dot-matrix Printer herunter. Epson 890N - FX B/W Dot-matrix Printer 19 Seiten. Impact printers
Auch für Epson 890N - FX B/W Dot-matrix Printer: Benutzerhandbuch (48 seiten), Handbuch (11 seiten), Spezifikationen (2 seiten), Technischer Brief (7 seiten)

Printing a Self Test
Running the printer's self test helps you determine whether the
printer or the computer is causing the problem:
If the self test results are satisfactory, the printer is working
properly and the problem probably results from your
printer driver settings, application settings, computer, or
interface cable. (Be sure to use a shielded interface cable.)
If the self test does not print properly, there is a problem
with the printer.
You can print the self test using either single sheets or
continuous paper of at least the following width:
Paper type
Continuous paper (including
perforated border)
Single sheet
Follow these steps to perform a self test:
1. Make sure paper is loaded and the printer is turned off.
2. To run the test using the Draft font, turn on the printer
while holding down the
using the printer's near letter-quality fonts, hold down the
button while you turn on the printer. Either self
Load/Eject
test can help you determine the source of your printing
problem; however, the draft self test prints faster than the
near letter-quality test.
After a few seconds, the printer loads the paper
automatically and begins printing the self test. A series of
characters is printed.
Note: To temporarily stop the self test, press the Pause button.
To resume the test, press Pause again.
3. To end the self test, press the
printing. If paper remains in the printer, press the
button to eject the printed page. Then turn off
Load/Eject
the printer.
Caution: Do not turn off the printer while it is printing the self
test. Always press the Pause button to stop printing and the
Load/Eject button to eject the printed page before you turn off
the printer.
FX-890
FX-2190
9.5 inches
14.8 inches
(241 mm)
(376 mm)
A4 or letter size
A3 landscape
button. To run the test
LF/FF
button to stop
Pause
Printing a Hex Dump
The hex dump feature is designed for DOS-based PC
connections. If you are an experienced user or a programmer,
you can print a hexadecimal dump to isolate communication
problems between the printer and your software program. In
hex dump mode, the printer prints all data it receives from the
computer as hexadecimal values.
You can print a hex dump using either single sheets or
continuous paper that is at least 8.3 inches (210 mm) wide,
such as A4 or letter size paper.
1. Make sure paper is loaded and the printer is turned off.
2. To enter hex dump mode, turn on the printer while holding
down the
and L
LF/FF
3. Open a software program and send a print job to the
printer. Your printer prints all the codes it receives in
hexadecimal format, such as:
By comparing the characters printed in the right column
with the printout of the hexadecimal codes, you can check
the codes the printer is receiving. If characters are printable,
they appear in the right column as ASCII characters.
Nonprintable codes, such as control codes, are represented
by dots.
4. To turn off hex dump mode, press the
the printed page(s), and then turn off the printer.
Caution: Do not turn off the printer while it is printing the hex dump.
Always press the Pause button to stop printing and the Load/Eject
button to eject the printed page before you turn off the printer.
Resetting the Printer
To reset the printer's EEPROM, hold down the
, and
buttons while turning on the printer. The
LF/FF
Pause
printer beeps once, and restores its factory default settings.
6/03
EPSON FX-890/FX-2190
buttons.
oad/Eject
button, eject
Pause
Load/Eject
EPSON FX-890/FX-2190
,
17
-
