Creek Audio EVOLUTION 50A Gebrauchsanweisung - Seite 6
Blättern Sie online oder laden Sie pdf Gebrauchsanweisung für Verstärken Creek Audio EVOLUTION 50A herunter. Creek Audio EVOLUTION 50A 13 Seiten. Integrated amplifier
Auch für Creek Audio EVOLUTION 50A: Gebrauchsanweisung (8 seiten), Gebrauchsanweisung (17 seiten)
Because the connections are bi-directional there is no need to form a loop when con-
necting equipment together. A single cable between any pair of equipment is sufficient.
The correct cable for connections is a STEREO (3-terminal) 3.5mm jack plug to jack plug
cable, do NOT use mono (2-terminal) 3.5mm jack cables!
Connecting anything to the IN jack will disable the built-in IR sensor to prevent clashing of
the signals. The remote connections carry standard demodulated remote control signals
along with proprietary serial commands to synchronise various EVOLUTION products and
carry out firmware updates.
OPERATING THE EVOLUTION 50A
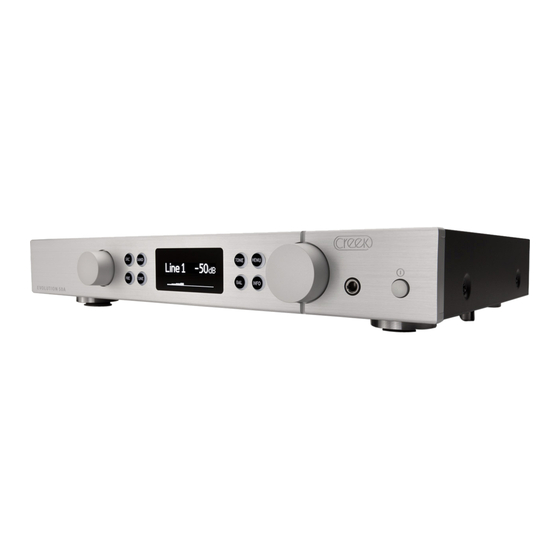
The front panel controls, from left to right, feature a rotary input selector knob, a group of
4 buttons marked SRC, PRE, TUNE, and BAND for the tuner, if fitted. Next is the OLED
display window, then 4 more buttons marked TONE, MENU, BAL and INFO. The volume
control, headphone socket and Power on/off switch complete the line up.
NOTE: All control settings are memorised, even when the power is turned off.
Turn on the power using the push-button on the right-hand side of the product. The dis-
play will show the Creek logo whilst the internal electronics are configured and allowed to
settle. The amplifier is ready for use once the display changes to show selected input and
volume settings.
The input is selected by the left-hand rotary control, rotate the control until the desired
input is shown in the display. The inputs can also be chosen using the remote control.
The volume can be adjusted via right-hand rotary control on the front panel or remotely
with the EVOLUTION remote handset. Pressing the knob will toggle the mute condition on
and off.
It is important to note that the power output of the amplifier is the product of both the vol-
ume setting AND the input signal level from the source equipment. Sources with a lower
output signal will require a higher volume setting to reach the same loudness. Do not be
worried if you find the volume is approaching 0
to achieve the required listening level, it
dB
does not necessarily mean the amplifier is working harder or delivering its full capability.
The volume setting is remembered during power off but when the amplifier is turned back
on, the value will be limited to a maximum -20
to prevent unexpected loud sounds from
dB
be ing produced.
Page: 5