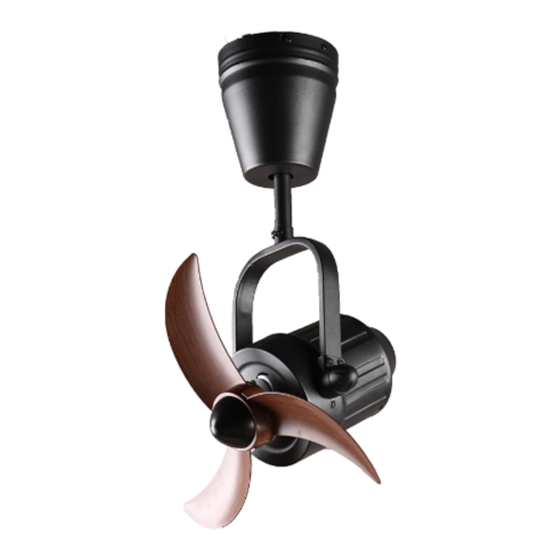
Fiamma Rubine ROF-RAPIDO16-3B Benutzerhandbuch - Seite 5
Blättern Sie online oder laden Sie pdf Benutzerhandbuch für Fan Fiamma Rubine ROF-RAPIDO16-3B herunter. Fiamma Rubine ROF-RAPIDO16-3B 15 Seiten.

INSTALLATION PROCEDURES / TATACARA PEMASANGAN / 安装步骤
STEP 1.a
Secure bracket assembly to ceiling joist or suitable piece of timber inserted between the ceiling joist. The
placement direction of the bracket assembly should follow the "Oscillator Centre Hole Direction & Facing Out as
Label Indication" during installation for "Correct Oscillation Angle" as diagram 1.a shown as below:-
LANGKAH 1.a
Pemasangan kurungan perhimpunan yang selamat ke siling atau sekeping kayu yang sesuai dipasang di antara
tiang siling. Arah penempartan kurungan perhimpunan hendaklah mengikut "Arah Hos Pusat Oscillator & Facing
Out sebagai Label Indikasi" semasa pemasangan untuk " Sudut Oscillation yeang Betul" seperti rajah 1.a
ditunjukkan di bawah .
步骤 1.a
用提供的4个螺丝和垫圈将吊架组件紧固于不托梁之上。如图图1.a所示,在安装"正确的摆动角度"时,吊架组件的放置方向应遵循
"振荡器中心孔方向并朝标签记的方向",如下所示:-
Please install the bracket according to the position and direction as the diagram above shown.
Sila pasangkan kurungan perhimpunan mengikut kedudukan dan arahan seperti rajah di atas ditunjukkan.
Diagram 1.a
/ Gambar 1.a / 图 1.a
请按照上图的位置和方向安装吊架。
Oscillator Centre Hole Direction (Hanging Tube)
Arah Hos Pusat Oscillator (Rod Besi)
振 荡 器 中 心 孔方 向 (吊杆)
4
wall
Pandangan Atas
Oscillation 110
Fan Body Left & Right Adjustable Direction
Kipas Badan Kiri & Kanan Arah Boleh Laras
风 扇机 身 左 右 可调 方向
Top View
顶 视 图
