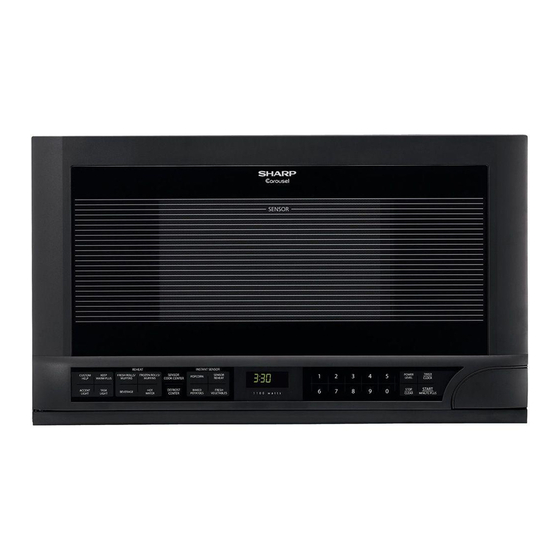
Sharp Carousel R-1210 Service-Handbuch - Seite 7
Blättern Sie online oder laden Sie pdf Service-Handbuch für Mikrowellenherd Sharp Carousel R-1210 herunter. Sharp Carousel R-1210 36 Seiten. Over the counter microwave oven
Auch für Sharp Carousel R-1210: Broschüre & Specs (8 seiten), Betriebsanleitung & Installationsanleitung (32 seiten), Betriebsanleitung & Installationsanleitung (32 seiten)

The following is a description of component functions during
oven operation.
OFF CONDITION
Closing the door activates the door sensing switch and
primary interlock switch. (In this condition, the monitor
switch contacts are opened.)
When oven is plugged in, 120 volts A.C. is supplied to the
control unit. (Figure O-1).
1. The display will show "SHARP SIMPLY THE BEST
PRESS CLEAR AND PRESS CLOCK".
To set any program or set the clock, you must first touch
the STOP/CLEAR button. The display will clear, and " :
" will appear .
POWER LEVEL P-0 TO P-90 COOKING
When Variable Cooking Power is programmed, the 120
volts A.C. is supplied to the power transformer intermittently
through the contacts of relay (RY2) which is operated by the
control unit within an interval second time base.
Microwave power operation is as follows:
VARI-MODE
HIGH
(100% power)
P-90 (approx. 90% power)
P-80 (approx. 80% power)
P-70 (approx. 70% power)
P-60 (approx. 60% power)
P-50 (approx. 50% power)
P-40 (approx. 40% power)
P-30 (approx. 30% power)
P-20 (approx. 20% power)
P-10 (approx. 10% power)
P-0
(0% power)
Note: The ON/OFF time ratio does not correspond with
the percentage of microwave power, because
approx. 3 seconds are needed for heating of the
magnetron filament.
SENSOR COOKING CONDITION
Using the Sensor Cooking function, the foods are cooked
without figuring time, power level or quantity. When the oven
senses enough steam from the food, it relays the information
to its microprocessor which will calculate the remaining cook-
ing time and power level needed for best results. When the
food is cooked, water vapor is developed. The sensor "senses"
the vapor and its resistance increases gradually. When the
resistance reaches the value set according to the menu,
supplementary cooking is started. The time of supplementary
cooking is determined by experiment with each food category
and inputted into the LSI.
OPERATION
DESCRIPTION OF OPERATING SEQUENCE
ON TIME
OFF TIME
32 sec.
0 sec.
30 sec.
2 sec.
26 sec.
6 sec.
24 sec.
8 sec.
22 sec.
10 sec.
18 sec.
14 sec.
16 sec.
16 sec.
12 sec.
20 sec.
8 sec.
24 sec.
6 sec.
26 sec.
0 sec.
32 sec.
An example of how sensor works (Baked potatoes):
1. Potatoes at room temperature. Vapor is emitted very
slowly.
2. Heat potatoes. Moisture and humidity is emitted rapidly.
You can smell the aroma as it cooks.
AH SENSOR
3. Sensor detects moisture and humidity and calculates
cooking time and variable power.
Cooking Sequence.
1. Operate the oven in sensor cooking mode by referring to
operation manual.
NOTE: The oven should not be operated on Sensor Cooking
immediately after plugging in the unit. Wait two
minutes before cooking on Sensor Cooking.
2. The coil of shut-off relay (RY1) is energized, the oven
lamp, turntable motor and cooling fan motor are turned
on, but the power transformer is not turned on.
3. After about 16 seconds, the cook relay (RY2) is energized.
The power transformer is turned on, microwave energy
is produced and first stage is started.
The 16 seconds is the cooling time required to remove
any vapor from the oven cavity and sensor.
NOTE: During this first stage, do not open the door or touch
STOP/CLEAR pad.
4. When the sensor detects the vapor emitted from the
food, the display switches over to the remaining cooking
time and the timer counts down to zero.
At this time, the door may be opened to stir food, turn it
or season, etc.
5. When the timer reaches zero, an audible signal sounds.
The shut-off relay and cook relay are de-energized and
the power transformer, oven lamp, etc. are turned off.
6. Opening the door or touching the STOP/CLEAR pad, the
time of day will reappear on the display and the oven will
revert to an OFF condition.
5
R-1210
R-1211
