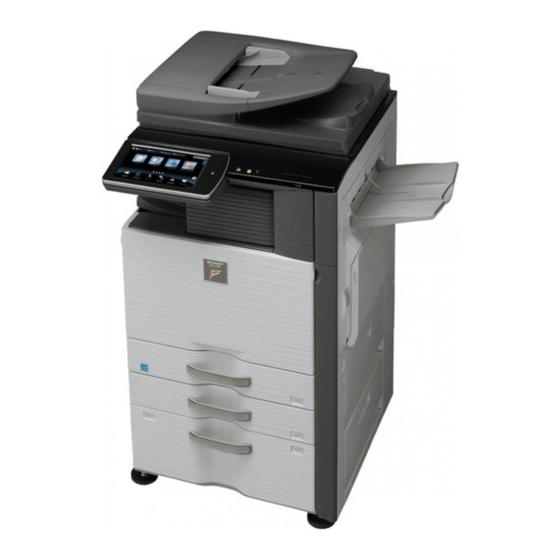
Sharp MX-2614N Operation Installationshandbuch - Seite 8
Blättern Sie online oder laden Sie pdf Installationshandbuch für Alles in einem Drucker Sharp MX-2614N Operation herunter. Sharp MX-2614N Operation 19 Seiten. Digital full color
multifunctional system
Auch für Sharp MX-2614N Operation: Start Handbuch (16 seiten), Technische Daten (13 seiten), Kurzanleitung (12 seiten)

When installing the machine, there is no need to remove or
install the OPC drum unit. If it must be removed or installed for
any reason, follow the procedures below. When removing or
installing the OPC drum unit, put your hand from below the unit
and slide it in parallel along the guide on the right side.
At that time, be careful not to touch the OPC drum surface.
10) Close the drum positioning cover, and lock it.
11) Re-install the waste toner box and lock into place.
2
1
MX-3114N MX-2314N/2614N/3114N (MAIN UNIT) 2 – 4
B. Set the control level for the reference toner
density
Setting of the reference toner density control level must be per-
formed with the toner cartridge removed.
If setting is performed with the toner cartridge installed, the EE-EL
error or an overtoner trouble may occur.
1)
With the front cabinet open, connect the power plug to the
power outlet.
2)
Turn ON the main power switch of the machine and the power
switch on the operation panel.
3)
Enter the SIM25-2 mode.
4)
After entering the simulation, close the front cabinet.
5)
Select K, C, M, Y and then press the [EXECUTE] button. The
system then performs the simulation, samples the toner den-
sity control sensor value, and sets (stores in memory) the
average sensor detection level as the control level for the ref-
erence toner density. (Operating times: approx. 1.5 minutes)
Be sure to select all of the four colors: K, C, M, Y.
6)
After the machine completes cycling, exit the simulation mode.
7)
Confirm that "Install the toner cartridge" is displayed, and
install the toner cartridge by the following procedures.
8)
Shake the toner cartridge horizontally several times.
