Epson 826W - PowerLite WXGA LCD Projector Installationshandbuch

Blättern Sie online oder laden Sie pdf Installationshandbuch für Projektor Epson 826W - PowerLite WXGA LCD Projector herunter. Epson 826W - PowerLite WXGA LCD Projector 10 Seiten. Epson powerlite 85/825/826w
Auch für Epson 826W - PowerLite WXGA LCD Projector: Benutzerhandbuch (42 seiten), Spezifikationen (6 seiten), Betriebshandbuch (47 seiten), Schnelles Einrichten (4 seiten), Handbuch zur Schnelleinrichtung (9 seiten), Benutzerhandbuch (1 seiten), Spezifikationen (2 seiten), Produkt-Support-Bulletin (25 seiten), Produkt-Support-Bulletin (12 seiten), Handbuch "Erste Schritte (9 seiten), Konformitätserklärung (4 seiten), Teileliste (1 seiten), Produkt-Support-Bulletin (22 seiten), Teileliste (1 seiten), Produkt-Support-Bulletin (28 seiten), Produkt-Support-Bulletin (41 seiten), Produkt-Support-Bulletin (38 seiten), Produkt-Support-Bulletin (28 seiten), Produkt-Support-Bulletin (15 seiten), Produkt-Support-Bulletin (22 seiten), Installationshandbuch (3 seiten)
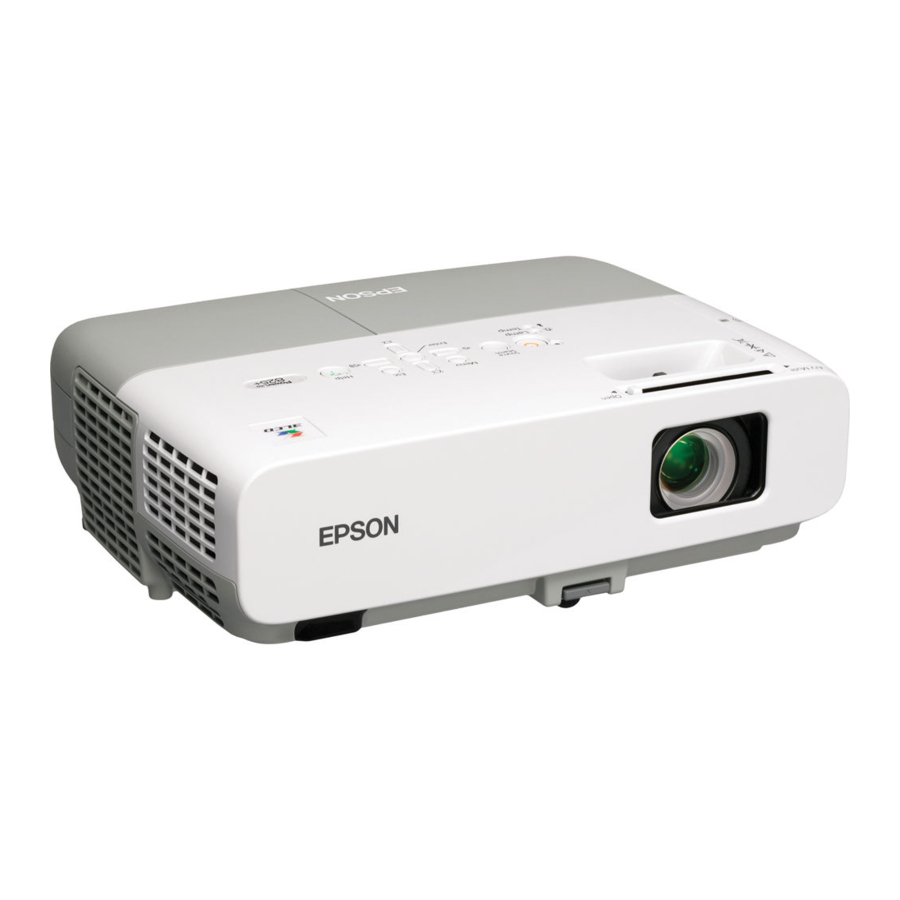
Epson 826W - PowerLite WXGA LCD Projector Installationshandbuch
Epson PowerLite 85/825/826W
note
If a button is pressed longer
than 30 seconds, the remote
control stops operating to
conserve power. When you
release the button, normal
operation resumes.
caution
When replacing batteries,
take the following
precautions:
Replace the batteries as
soon as they run out. If the
batteries leak, wipe away
battery uid with a soft
cloth. If uid gets on your
hands, wash immediately.
Do not expose batteries to
heat or ame.
Dispose of used batteries
according to local
regulations.
Remove the batteries if
you won't be using the
projector for a long period of
time.

Using the Remote Control

Follow these tips for using the remote control:
Point the remote control at the front of the projector or at the
screen.
Stand within 20 feet of the projector.
Avoid using the remote under bright uorescent lamps or in
direct sunlight, or the projector may not respond properly.

Replacing the Batteries

Replace the batteries as described below:
1. Turn the remote control over.
2. Press the tab on the battery cover
to open it.
3. Install two AA batteries,
inserting the
and
+
as shown.
4. Close the cover, pressing it down
until it snaps into place.
INSTALLATION HANDBOOK
ends
Remote Control Information
1