Cisco DATAVOX 7941 Brief

Blättern Sie online oder laden Sie pdf Brief für IP-Telefon Cisco DATAVOX 7941 herunter. Cisco DATAVOX 7941 2 Seiten. Multi-line ip phones
Auch für Cisco DATAVOX 7941: Benutzerhandbuch (19 seiten), Benutzerhandbuch (6 seiten), Benutzerhandbuch (26 seiten), Benutzerhandbuch (6 seiten), Benutzerhandbuch (14 seiten), Benutzerhandbuch (6 seiten), Schnellstart-Handbuch (6 seiten), Benutzerhandbuch (17 seiten), Kurzreferenz-Handbuch (6 seiten), Kurzreferenz-Handbuch (2 seiten), Schnellstart-Handbuch (21 seiten), Benutzerhandbuch (4 seiten), Kurzreferenz-Handbuch (4 seiten), Benutzerhandbuch (7 seiten), Einrichten (11 seiten), Kurzreferenz-Handbuch (1 seiten), Benutzerhandbuch (2 seiten), Benutzerhandbuch (2 seiten), Gebrauchsanweisung (3 seiten), Handbuch (11 seiten), Benutzerhandbuch (2 seiten), Referenzhandbuch (3 seiten), Benutzerhandbuch (2 seiten), Schnellstart-Handbuch (2 seiten)
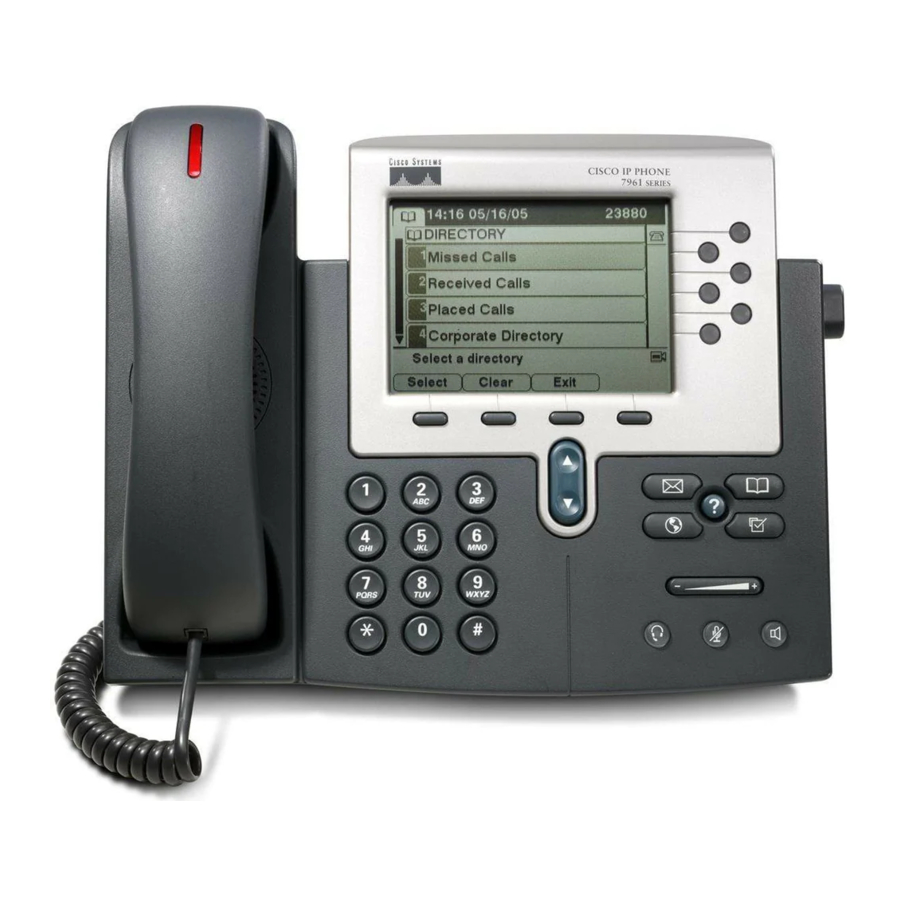
Cisco DATAVOX 7941 Brief
Need to Move Your IP Phone?
One advantage of IP phones is that they are usually simple to move.
You should select a location near a network outlet (and near an AC
electrical outlet if your phone has an AC adapter). You may or may not
need assistance to move your IP phone (see below).
If you do NOT have a black AC power adapter connected to your IP
phone then your phone is receiving power from the network closet and
you should submit a Technology Work Request (TWR) to have a
technician assist you. The TWR should clearly identify (1) the telephone
to be moved, (2) its current location, and (3) the intended destination
(room & location within the room).
If you have a black AC power adapter connected to your IP phone
then you have the option to relocate your phone without the assistance
of a technician. You will need to move (1) your IP phone, (2) your AC
power adapter & power cord, and (3) your network patch cable. Use the
patch cable to connect the 10/100 SW outlet on the back of your IP
phone to an orange network wall outlet. In addition, you may also
connect a computer to the 10/100 PC outlet on your IP phone. Note: To
avoid problems computers should be logged off or shut down before
network cables are disconnected.
Cisco 7941/7961 IP Phone Connections
Want to Know More?
For additional information on these and other features of your new phone
see the complete listing of NPS IP phone documentation online at:
www.norman.k12.ok.us/002/phones/
This is the 9-15-2008 version of the Phone Brief for the Cisco 7941/7961 IP Phones.
Current documentation for these models is available at the web site shown above.
4
IP Phone Brief – 7941
For Cisco Model 7941 & 7961 Multi-Line IP Phones
Answering Calls
When your phone rings and the red Handset Light is blinking you are
receiving a call. To answer the call, lift the handset (for privacy) or press
the [Answer] softkey or the speaker key (for speakerphone). If
necessary, press the flashing Line button of the incoming call to select
that line. If a second call comes in, press the Navigation button ( )
down, then press the [Answer] softkey. This automatically places the
first call on hold and answers the second call.
Placing Calls
To place a call, lift the handset then dial the number. Alternatively you
may press an unlit Line button, the [New Call] softkey, or the Speaker
key before dialing. You may also dial the number first then press the
[Dial] softkey to place a call.
Internal Calls: Dial the NPS 4-digit extension
External Calls: Dial 9 + phone number
Long Distance: Dial 9 + 1 + (area code) + phone number
Redial: Press the [Redial] softkey to redial the last number direct
dialed from your phone.
Ending Calls
If you are using the handset then you can simply hang up the phone to
end a non-speakerphone call. If you are using the speakerphone then
you can press the Speaker button to end the call. Pressing the [EndCall]
softkey will end either type of call.
Selected Phone Features
Hold: To place a caller on hold, press the [Hold] softkey.
To return to the caller press the [Resume] softkey.
If multiple calls are on hold, then use the Navigation button ( ) to
select the desired call before you press [Resume].
If multiple calls on multiple lines are on hold, then first press the
line button for the desired line, next use the Navigation button ( ) to
select the desired call, and finally press [Resume].
1