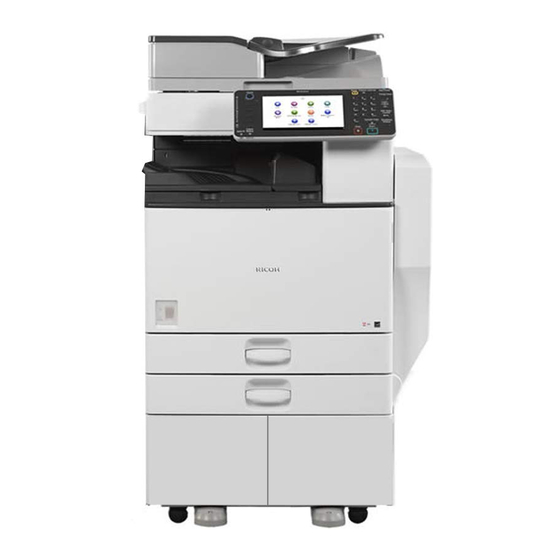
Ricoh Aficio MP C3502 Schnellstart-Handbuch - Seite 12
Blättern Sie online oder laden Sie pdf Schnellstart-Handbuch für Drucker Ricoh Aficio MP C3502 herunter. Ricoh Aficio MP C3502 24 Seiten. Papercut ricoh embedded manual
Auch für Ricoh Aficio MP C3502: Benutzerhandbuch (41 seiten), Broschüre & Specs (8 seiten)

Directional/Size Magnification
There are three Directional/Size Magnification types:
1. Directional Magnification %, which allows you to do non-proportional enlargement/reduction by entering different per-
centages for horizontal and vertical directions.
2. Size Magnification, which allows you to enter the original size in inches, the copy size in inches, and it will do the calcu-
lation of the percentage for you. This allows for proportional enlargment/reduction only.
3. Directional Magnification Inch, which allows you to enter original size in inches, and the copy size in inches, individually
for horizontal and vertical directions. It will calculate the percentages for you, and it allows for non-proportional enlarge-
ment/reduction.
1. Select [Reduce/Enlarge] button, and then [Size Magnifica-
tion], [Dir. Size Mag. Inch], or [Direct. Mag. %]
DIRECTIONAL MAGNIFICATION %
2. Enter the desired [Horizonal %] and [Vertical %], and the
resulting image will be either proportional or non-propor-
tional, depending on whether the percentages were the
same or different.
3. Press [OK]
4. Place the originals and press [Start].
SIZE MAGNIFICATION
2. Enter [Original size in inches], the desired [Copy size in
inches], and it will calculate the percentage for you. This
results in Proportional enlargment/reduction only.
3. Press [OK].
DIRECTIONAL MAGNIFICATION INCH
2. Enter the [Horizonal Original Size in inches], the desired
[Horizontal Copy size in inches], the [Vertical Original Size
in inches], the desired [Vertical Copy size in inches], and the
percentages in each direction will be automatically calcu-
lated. This can result in a non-proportional enlargement/
reduction.
3. Press [OK].
Page 12
