Ricoh SP 311DNW Handbuch "Erste Schritte - Seite 19
Blättern Sie online oder laden Sie pdf Handbuch "Erste Schritte für Drucker Ricoh SP 311DNW herunter. Ricoh SP 311DNW 45 Seiten. Network settings guide
Auch für Ricoh SP 311DNW: Handbuch zur Schnellinstallation (2 seiten), Spezifikationen (4 seiten), Installationshandbuch (2 seiten)
STEP 4
by printing a test page through Windows and/or Smart Organizing Monitor.
Note:
If a wired (Ethernet) or wireless connection was made, the test page will include the printer's
•
IP address, e.g., 192.168.1.12.
a. Click [Start].
b. Click [Devices and Printers].
c. Right-click [RICOH SP 311DNw PCL 6].
d. Select [Printer properties].
e. Click [Print Test Page].
f. Click [Close].
g. Click [X] to close open windows.
Note:
If printer is on a wired or wireless network,
•
the Test Page will include the IP address
under [Port name(s)].
Print Test Page
This final step is to confirm that your computer and printer are communicating. Do so
Windows
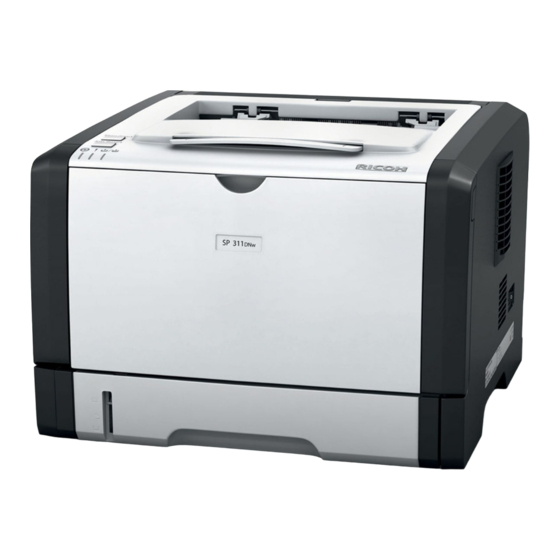
RICOH SP 311DNw B&W Network Laser Printer
Smart Organizing Monitor
a. Click [Start].
b. Select [Smart Organizing Monitor Status].
c. Click [User Tools] tab.
d. Select [Test Page] from [List/Test Print] menu.
e. Click [Print].
f. Click [Close].
Important:
To print the Test Page from the printer control
•
panel, press and hold the [Job Reset] key, while
turning the printer On. Continue to hold [Job
Reset] for 6 seconds, and then release. Test
Page prints.
Getting Started Guide
19