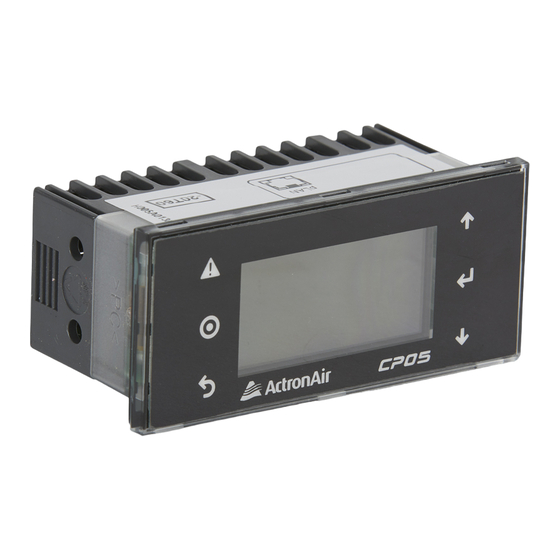
ActronAir CP05 Installationshandbuch - Seite 11
Blättern Sie online oder laden Sie pdf Installationshandbuch für Kontrolleinheit ActronAir CP05 herunter. ActronAir CP05 16 Seiten. Control interface

CP05 & CP10 CONTROL INTERFACE INSTALLATION GUIDE
PROCEDURE FOR ADDRESSING THE MIMIC DISPLAY (Refer to ( Diagram in Sec.1.1 page 9 (for CM100)),
(Diagram in Sec.1.2 page 10 (for uPC)):
NOTE: Where procedures are the same with CP05, only CP10 Control Interface is shown for ease of illustration.
TURN OFF the unit through the Master Control
1
(Control Interface #1).
DISCONNECT the Master Control Interface from J15
2
(for CM100), CONTROL INTERFACE (for uPC).
CONNECT the Remote Mimic Control (Control
3
Interface #2) into J15 (for CM100), CONTROL
INTERFACE (for uPC).
(CP05 Procedure):
4a
PRESS the Up " " arrow, Down " " arrow and Enter
"
" keys together for 5 seconds on the Home Screen.
9:30
Unit: On
Return Temp:
Supply Temp:
Comp
CP05 Remote Mimic Control
(Control Interface #2)
4b
(CP10 Procedure):
PRESS the Up " " arrow, Down " " arrow and Enter
"
" buttons together for 5 seconds on the Home
Screen.
9:30
Unit: On
Return Temp:
Prg
Supply Temp:
Comp
Esc
CP10 Remote Mimic Control
(Control Interface #2)
The screen will show the Default Display address and
I/O board address. Ensure the Display address setting
is 32, which is the preset, and I/O board address is 01.
Display address
setting ................... :
Prg
I/O Board address :
Esc
ActronAir is constantly seeking ways to improve the design of its products, therefore specifications are subject to change without notice.
Copyright © 2022 Actron Engineering Pty. Ltd.
Auto
23.7
o
C
o
16.5
C
Rev Vlv
Auto
o
23.7
C
16.5
o
C
Rev Vlv
32
01
5
CHANGE the display address to 31 and I/O address
as 01 (if not set), as follows: Press Enter "
Button to get into the menu, use the " " Button or " "
Button to change the settings and then press Enter "
" Button again to lock-in the data.
Display address
setting ................... :
Prg
I/O Board address :
Esc
When the Display address change is acknowledged,
the following screen will appear:
Terminal Config
Press ENTER
to continue
Prg
Esc
6
Again, PRESS Enter "
Terminal config setting screen below:
P: 01 Adr Priv/Shared
Trm1 32
Trm2 None - -
Prg
Trm3 None - - Ok?No
Esc
CHANGE the Trm2 address to 31 by pressing the
7
Enter "
" Button two more times, change the
setting using the " " Button or " " Button and then
press Enter "
" Button again. Make that terminal
as "Shared" using the " " Button or " " Button and
pressing the Enter "
" Button.
P: 01 Adr Priv/Shared
Trm1 32
Trm2 31
Prg
Trm3 None - - Ok?No
Esc
"
31
01
" Button to display the
Sh
Sh
Sh
11
