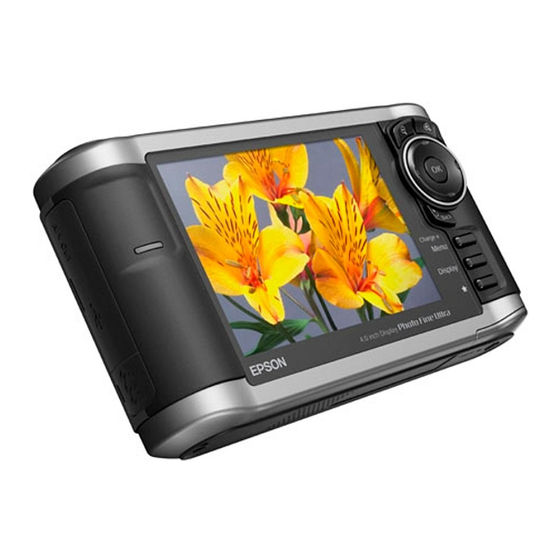
Epson P3000 - Digital AV Player Produkt-Support-Bulletin - Seite 6
Blättern Sie online oder laden Sie pdf Produkt-Support-Bulletin für Projektor Epson P3000 - Digital AV Player herunter. Epson P3000 - Digital AV Player 9 Seiten. New firmware release version 01.33 for multimedia storage viewers
Auch für Epson P3000 - Digital AV Player: Benutzerhandbuch (15 seiten), Informationen zum Produkt (2 seiten), Technischer Brief (7 seiten), Produkt-Support-Bulletin (13 seiten)

EPSON
Date: 10/25/1996
PSB No.: PSB.1996.10.003
Reference: ELP-3000, ELP-3300 USER GUIDE
Originator: BS
Authorization: jJ&
Affected Product(s): ELP-3000 & ELP-3300
Subject: USING TEE REMOTE CONTROL UNlT AS A POINTING DEVICE
This guide is intended to provide instructions for using the projector's remote control unit as a painting device to
control presentation software running on a computer.
The guide assumes the user to be somewhat familiar with the computer they are using to run the presentation
software, and the basic operation of the projector. For detailed instructions on specific computer or projector
functions or operation refer to the appropriate user guide.
Most Windows-based presentation software can be controlled in a number of ways:
A.
Directly by the computer's pointing device (ie. wired PS/2 or Serial Mouse, Trackpad,
Trackball or other device).
With a wireless pointing device such as an infrared pointing device.
B.
This could be an alternate solution to using the projector's remote control unit.
HINT!:
With the projector's Remote Control Unit.
C.
The following steps should be completed in sequence to successfully use the Remote Control Unit as a pointing
device.
ITEMSREQUIRED
The following projector accessory items, included with the projector, will be required to use the Remote
Control Unit as a painting device: Remote Control Unit, 2 AA Batteries, ELP PC Utilities Disk, and the
6 ft. Serial cable.
CONNECTlNG THE SERIAL CABLE
Turn both the Projector and Computer OFF.
A.
Open the I/O door located below the handle of the projector, then plug in the round
B.
serial connector on the cable into the serial port on the projector.
C.
Attach the 9 pin connector on the serial cable to the computer's 9 pin Com 1 serial port.
P
S
RODUCT
UPPORT
Page 1 of 4
B
ULLETIN
