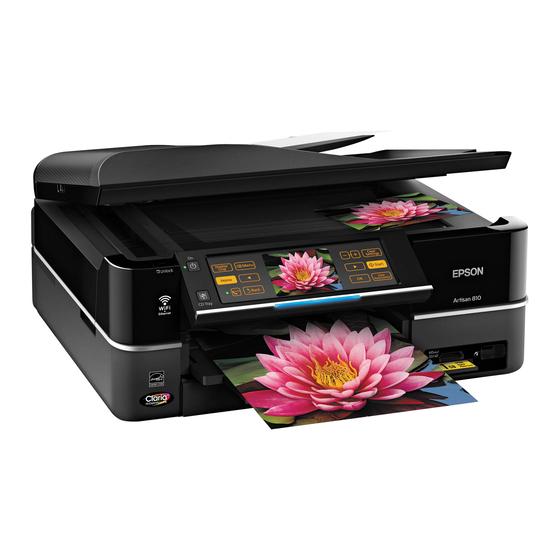
Epson Artisan 710 Series Hier beginnen - Seite 2
Blättern Sie online oder laden Sie pdf Hier beginnen für Alles in einem Drucker Epson Artisan 710 Series herunter. Epson Artisan 710 Series 4 Seiten. Color inkjet printer
Auch für Epson Artisan 710 Series: Handbuch zur Netzwerkinstallation (36 seiten), Spezifikationen (2 seiten), Start Here Handbuch (8 seiten), Service-Handbuch (20 seiten)

2
Unpack the ink cartridges.
3
Remove only the yellow tape from each cartridge.
C aution:
Don't remove any other seals or the cartridges may leak.
4
I nsert the cartridges in the holder for each color. Press each cartridge
down until it clicks.
5
Lower the scanner.
6
Wait while ink charges. Charging takes about 5 minutes.
N ote:
Your Artisan 710 Series ships with full cartridges and part of the ink
from the first cartridges is used for priming the Artisan 710 Series. Replacement
cartridges will print more pages.
Caution:
Don't turn off the Artisan 710 Series while the ink system is charging
or you'll waste ink.
5
Load paper
The paper cassette has 2 trays. The main tray is for letter-size, legal-size,
or 8 x 10-inch paper. The photo tray is for 4 x 6- or 5 x 7-inch photo paper.
1
Pull out the paper cassette. Then slide back the photo tray and lift it up.
2
Squeeze the edge guides and slide them out. Then insert paper with the
glossy or printable side face-down.
3
Slide the edge guides against the paper.
4
Lower the photo tray.
5
Squeeze the edge guides and slide them out. Then insert 4 x 6-inch or
5 x 7-inch photo paper with the glossy or printable side face-down.
N ote:
Make sure the paper fits under the edge guide.
6
Slide the edge guides against the paper.
7
Keep the cassette flat as you insert it.
8
Extend the output tray and flip up the stopper.
