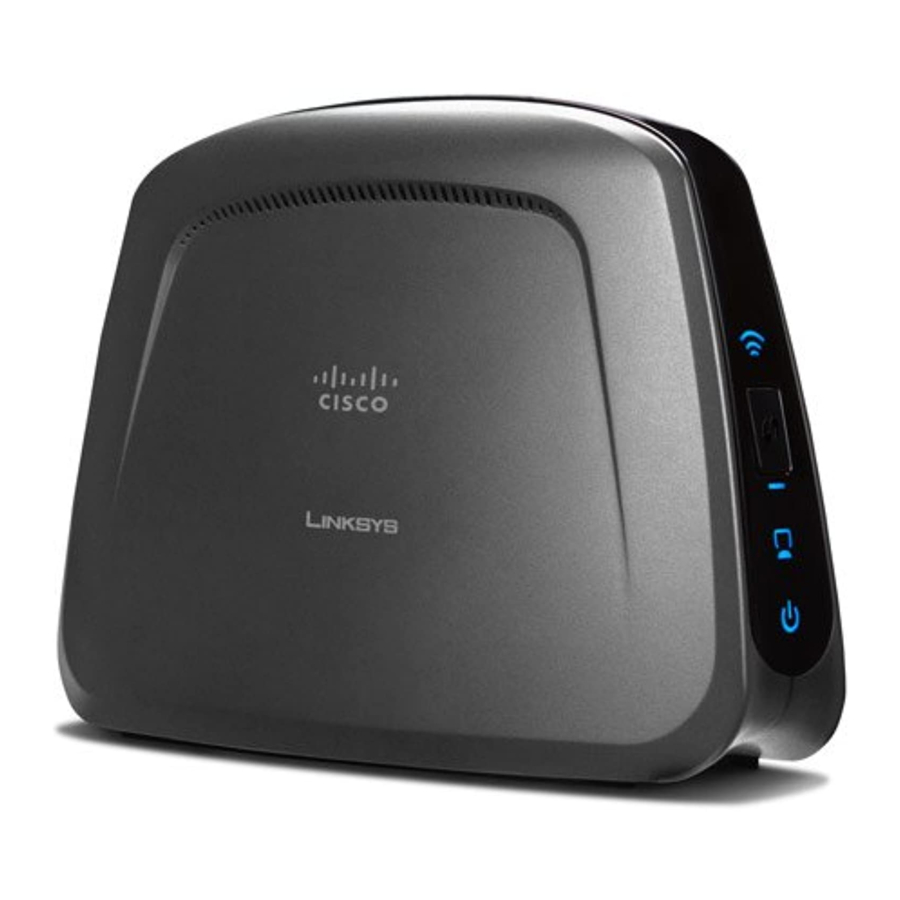
Cisco Linksys WET610N Handbuch zur Schnellinstallation - Seite 19
Blättern Sie online oder laden Sie pdf Handbuch zur Schnellinstallation für Drahtloser Zugangspunkt Cisco Linksys WET610N herunter. Cisco Linksys WET610N 49 Seiten. 802.11ac
Auch für Cisco Linksys WET610N: Handbuch zur Schnellinstallation (12 seiten), Handbuch zur Schnellinstallation (20 seiten), Benutzerhandbuch (17 seiten), Konfigurieren von (3 seiten)

Chapter 3
Security Mode > WEP
Encryption
Select a level of WEP encryption, 40/64 bits
(10 hex digits) or 104/128 bits (26 hex digits). The
default is 40/64 bits (10 hex digits).
Key 1
Enter the WEP key of your network.
Tx Key
Key 1 is the transmit key used by the Bridge.
Authentication
The default is Auto, which allows either
Open system or Shared key authentication to be used.
Select Open to use open system authentication; the sender
and recipient do not use a WEP key for authentication.
Select Shared to use shared key authentication; the
sender and recipient use a WEP key for authentication.
Click Save Settings to apply your changes, or click Cancel
Changes to cancel your changes.
Wi-Fi Protected Setup
There are two methods available. Use the method that
applies to the router you are using.
Wireless > Basic Wireless Settings (Wi-Fi Protected Setup)
Wireless-N Ethernet Bridge with Dual-Band
Advanced Configuration
Wi-Fi Protected Setup > Congratulations
Method #1
Use this method if your router has a Wi-Fi Protected Setup
button.
1.
Click or press the
Wi-Fi Protected Setup button on
the router.
2.
Within two minutes, click the
button on the Bridge's Wi-Fi Protected Setup screen.
3.
After the Bridge has been configured, click
The Wi-Fi Protected Setup screen displays the Link Status,
Network Name (SSID), and Security method.
Method #2
Use this method if your router requests the PIN number
of the Bridge.
1.
On the
router's Wi-Fi Protected Setup screen, enter
the PIN number on the Bridge's Wi-Fi Protected Setup
screen. Then click Register or the appropriate button.
(It is also listed on the label on the bottom of the
Bridge.)
2.
On the
Bridge's Wi-Fi Protected Setup screen, click OK.
3.
After the Bridge has been configured, click
The Wi-Fi Protected Setup screen displays the Link Status,
Network Name (SSID), and Security method.
Wireless > Wireless Network Site Survey
Click the Wireless Network Site Survey tab to begin a
site survey. The Wireless Network Site Survey screen lists the
wireless networks detected by the Bridge.
Wi-Fi Protected Setup
Close.
Close.
5
