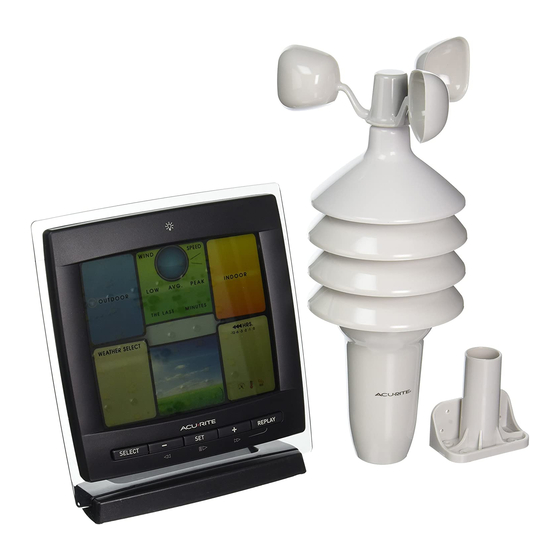
ACU-RITE 589 Gebrauchsanweisung - Seite 5
Blättern Sie online oder laden Sie pdf Gebrauchsanweisung für Wetterstation ACU-RITE 589 herunter. ACU-RITE 589 20 Seiten.

DISPLAY UNIT
1. Current Outdoor Temperature
Arrow icon indicates direction
temperature is trending.
2. Sensor Low Battery Indicator
3. Average Wind Speed
Average of all speeds over last
30 minutes or calibrated 30 minute
interval.
4. Backlight Button
5. Current Wind Speed
6. Wind Gust Icon
7. Peak Wind Speed
Highest speed from last 30 minutes or
calibrated 30 minute interval.
8. Current Indoor Temperature
Arrow icon indicates direction
temperature is trending.
9. Display Low Battery Indicator
10. Current Indoor Humidity
Arrow icon indicates direction
humidity is trending.
11. Clock
12. Date
13. REPLAY and LIVE Icons
REPLAY indicates historical data is
being displayed. LIVE icon is shown
while exiting REPLAY function.
14. 12 to 24 Hour Weather Forecast
Self-Calibrating Forecasting pulls data
from the outdoor sensor to generate
your personal forecast.
15. Multi-Variable History Chart
Displays the past 12 hours of data for
pressure, temperature and humidity.
16. REPLAY Button
For displaying historical data.
17. + Button
For setup preferences.
18. SET Button
For setup preferences.
19. – Button
For setup preferences.
20. SELECT Button
Press to change the Weather Select
(#23) category being displayed.
21. Barometric Pressure
Arrow icon indicates direction
pressure is trending.
22. Learning Mode Icon
Disappears after weather forecast
self-calibration is complete.
23. Weather Select
Displays heat index, dew point or wind
chill, daily, monthly, all time high & low
records indoor/outdoor temperatures
and humidity and high for wind speed.
24. AUTO DIM Indicator
25. Current Outdoor Humidity
Arrow icon indicates direction
temperature is trending.
26. Low Wind Speed
Lowest speed from past 30 minutes or
calibrated 30 minute interval.
27. Outdoor Sensor Signal Strength
BACK OF DISPLAY UNIT
28. Integrated Hang Hole
For easy wall mounting
29. Plug-in for Power Adapter
30. Battery Compartment
31. A-B-C Switch
ID code that must match sensor's A-B-C
switch to ensure units synchronize.
32. CLEAR RECORD/RESET Button
Press to clear record currently being
viewed. Press and HOLD for full reset
to factory defaults.
33. Battery Compartment Cover
34. Power adapter
5
