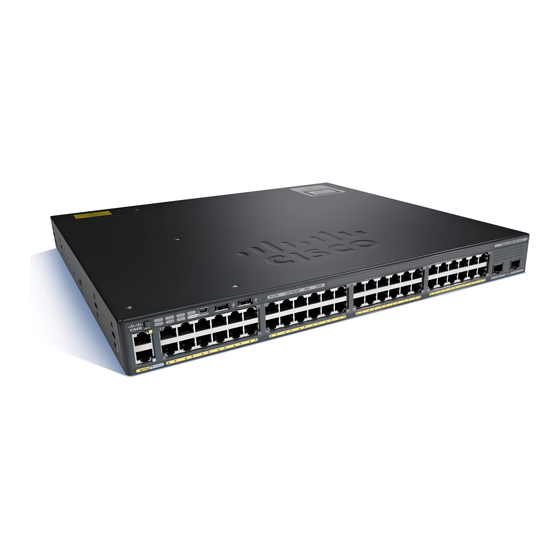
Cisco Catalyst 2960-XR Handbuch "Erste Schritte - Seite 6
Blättern Sie online oder laden Sie pdf Handbuch "Erste Schritte für Netzwerk-Hardware Cisco Catalyst 2960-XR herunter. Cisco Catalyst 2960-XR 25 Seiten.
Auch für Cisco Catalyst 2960-XR: Hardware-Installationshandbuch (34 seiten), Hardware-Handbuch (20 seiten)

Note
If the port LEDs do not turn green after about 30 seconds, make sure that:
• You connected the Ethernet cable to one of the downlink switch ports (not to the console
port).
• You are using an undamaged Category 5 or 6 Ethernet cable.
• The other device is on.
Step 7
Start a browser session on the PC, and enter the IP address https://10.0.0.1. When prompted, enter the default password,
cisco.
The switch ignores text in the username
Note
field.
The Express Setup window appears. If the Express Setup window does not appear, make sure that any pop-up blockers or
proxy settings on your browser are disabled and that any wireless client is disabled on your PC or laptop.
Step 8
Enter this information in the Network Settings fields:
All entries must be in English
Note
letters.
• In the Management Interface (VLAN ID) field, the default is 1. We recommend that you use the default VLAN value.
During Express Setup, VLAN 1 is the only VLAN on the switch. Enter a new VLAN ID only if you want to change
the management interface through which you manage the switch. The VLAN ID range is 1 to 1001.
• In the IP Address field, enter the switch IP address.
• In the Subnet Mask field, click the drop-down arrow, and select a subnet mask.
• In the Default Gateway field, enter the IP address for the default gateway (router).
• In the Switch Password field, enter your password . The password can be from 2 to 25 alphanumeric characters, can
start with a number, is case sensitive, allows embedded spaces, but does not allow spaces at the beginning or end.
In the Confirm Switch Password field, enter your password again.
You must change the password from the default password,
Note
cisco.
(Optional) Enter this information in the Ethernet Management Port Settings fields:
• In the IP Address field, enter the IP address of the Ethernet management port.
• In the Subnet Mask field, click the drop-down arrow, and select an IP Subnet Mask field, click the drop-down arrow,
and select and IP Subnet Mask.
Step 9
Enter information in the optional fields.
You can enter other administrative settings in the Express Setup window. For example, the optional administrative settings
identify and synchronize the switch for enhanced management. The switch clock is automatically synchronized with the
network clock by using NTP. You can manually set the system clock settings if the switch should have different time
settings.
Step 10
Click Submit to save your changes and to complete the initial setup.
After you click Submit:
• The switch is configured and exits Express Setup mode.
6
