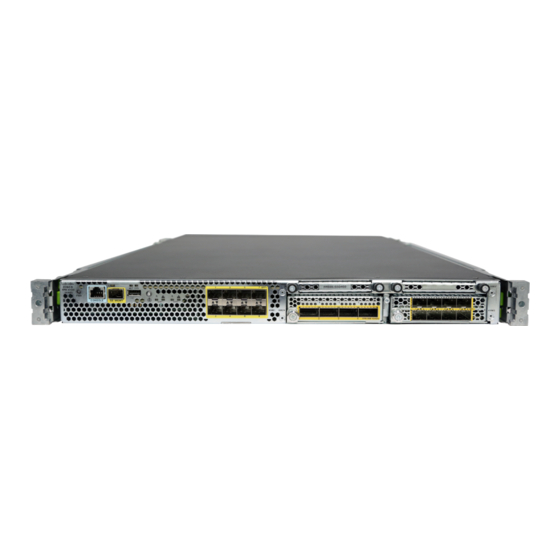
Cisco Firepower 4110 Handbuch - Seite 22
Blättern Sie online oder laden Sie pdf Handbuch für Netzwerk-Hardware Cisco Firepower 4110 herunter. Cisco Firepower 4110 26 Seiten. Rack-mount and ground the chassis
Auch für Cisco Firepower 4110: Handbuch für Wartung und Aufrüstung (20 seiten), Handbuch (36 seiten), Handbuch (8 seiten), Handbuch (42 seiten), Erste Schritte (42 seiten)

Install the FIPS Opacity Shield
Step 3
Secure the clamp:
a) Plug in the power supply power cord and wrap the clamp around the over mold portion of the power cord.
b) Squeeze the clamp ends together to the power supply so that the annular teeth engage with the mate on the clamp.
c) Make sure the clamp fits snugly into the over mold.
d) Adjust the clamp position on the tie wrap so that the clamp is tight against the front of the over mold and the power
cord cannot be removed by lightly pulling on it.
Figure 14: Clamp on Over Mold of Power Cord
1
Power cord
3
Tie clamp annular teeth
5
Clamp release tabs
Step 4
If you need to remove the power cord, push the release tab on the clamp to force the annular clamp teeth to disengage
and the clamp opens up. You can then remove the clamp from the power cord.
Install the FIPS Opacity Shield
Caution
This procedure should be performed only by the Crypto Officer.
Note
Because the FIPS opacity shield covers the serial number on the chassis, you need to copy the serial number
on a label and attach it to the chassis where it can be retrieved or viewed easily before you install the FIPS
opacity shield. You need the serial number when you call Cisco TAC.
Before you begin
You need the following to install the FIPS opacity shield:
Installation, Maintenance, and Upgrade
22
Installation, Maintenance, and Upgrade
2
Power cord over mold
4
Direction to squeeze the clamp tabs
—
