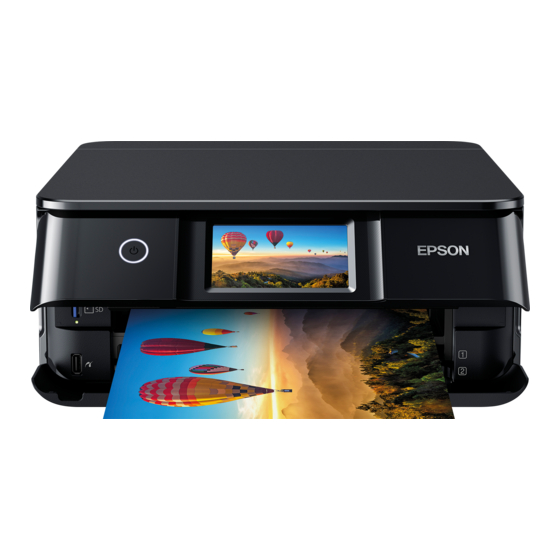
Epson XP-8700 Series Hier beginnen - Seite 2
Blättern Sie online oder laden Sie pdf Hier beginnen für Alles in einem Drucker Epson XP-8700 Series herunter. Epson XP-8700 Series 4 Seiten.
Auch für Epson XP-8700 Series: Hier beginnen (2 seiten), Setup-Handbuch (13 seiten)

3
Turn on and configure
1
Turn on the product, then adjust the control panel.
2
Select your language on the LCD screen.
Note:
• You can change this setting later using the product's control
panel. For more information, see the online User's Guide.
• If an error message appears, turn off the product and check that
no protective material has been left inside the product.
4
Install ink cartridges
Keep the ink cartridges out the reach of children and do not
Caution:
drink the ink.
The included initial cartridges are designed for reliable printer
Note:
setup and cannot be used as replacement cartridges or resold. After
setup, the remaining ink is available for printing.
1
Lift up the scanner unit.
Do not touch the flat, white cable or the print head path.
Caution:
2
Unpack the ink cartridges.
Caution:
• Do not shake the ink cartridges.
• Do not touch the areas shown below. Doing
so may prevent normal operation and
printing.
3
Remove the cap from each ink cartridge. Store the caps in
the included plastic bag.
Save the caps and use them to recap the ink cartridges after
Note:
removing them for storage or disposal.
4
Insert the cartridges at an angle in the holder for each
color. Press each cartridge down until it clicks.
5
Lower the scanner unit.
6
Select Installed. Ink charging takes approximately 10
minutes. When you see a completion message on the
printer's LCD screen, charging is complete.
Don't turn off the printer or raise the scanner unit while
Caution:
the printer is charging or you'll waste ink.
As part of setup, your product's serial number will be sent
Note:
to a secure Epson server so that you can be eligible to participate
in programs we may offer from time to time, including the Epson
ink replenishment program. You will have a separate opportunity
to consent to participating in such programs.
7
Follow the on-screen instructions to adjust the print
quality of your product.
Note:
• You need to load paper before you can adjust the print quality.
See the "Load paper" section for details.
• Select Adjust Later if you want to adjust the print quality later.
For more information, see the online User's Guide.
5
Load paper
See the instructions below for loading paper in cassettes
1 and 2.
See the online User's Guide for a complete list of compatible
Note:
paper types, sizes, and capacities, and instructions on loading paper in
the rear paper feed slot and printing on
CD/DVD/Blu-ray Discs™.
Cassette 1
Epson paper sizes
×
×
4"
6", 5"
7"
×
8"
10", Letter, A4, Legal
Output tray
Cassette 2/
front cover
Cassette 1
Cassette 2
•
•
•
