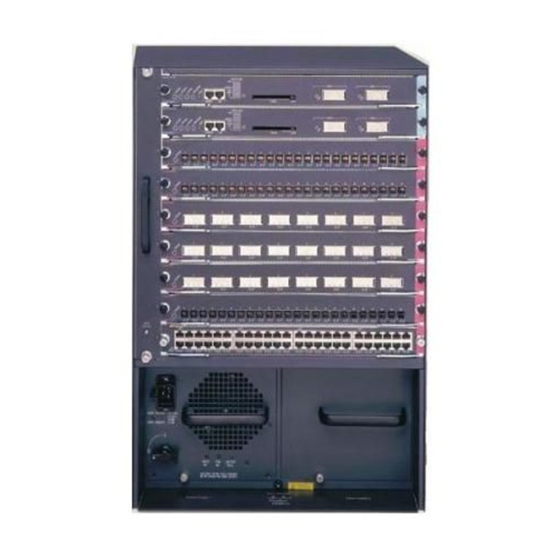
Cisco WS-C6509 Benutzerhandbuch - Seite 12
Blättern Sie online oder laden Sie pdf Benutzerhandbuch für Netzwerk-Hardware Cisco WS-C6509 herunter. Cisco WS-C6509 28 Seiten. Catalyst 6500 series
Auch für Cisco WS-C6509: Upgrade-Handbuch (24 seiten), Datenblatt (30 seiten)
Installing the Opacity Shield on the Catalyst 6509 Switch
Installing the Opacity Shield on the Catalyst 6509 Switch
The opacity shield is designed to be installed while the Catalyst 6509 switch is operating without
creating an electrical hazard or damage to the system. You will need some clearance between adjacent
racks in order to perform this procedure.
To install an opacity shield on the Catalyst 6509 switch (see
The opacity shield is designed to be installed on a Catalyst 6509 chassis that is already rack-mounted.
Step 1
If your Catalyst 6509 chassis is not rack-mounted, install the chassis in the rack using the procedures
contained in the Catalyst 6500 Series Switches Installation Guide. If your Catalyst 6509 chassis is
already rack-mounted, proceed to step 2.
Step 2
Open the FIPS kit packaging (part number CVPN6500FIPS/KIT=). The kit contains the following items:
•
•
•
•
The opacity shield part number is located on the outside of the protective packaging.
Note
Remove the bag with the part number 800-26335-xx. This is the opacity shield kit for the Catalyst 6509
Step 3
switch chassis. Set the other opacity shield kit aside.
Step 4
Open the protective packaging and remove the opacity shield and the two bags of installation hardware.
The opacity shield is identified by the label 6509-E that is silk-screened adjacent to some of the holes
on the shield. Retain the fastener bag labeled 69-1482-xx. Set the second bag of installation hardware
aside; you will not need it for this installation.
Open the bag of installation hardware and remove two M3 thumbscrews and four M3 snap rivet fasteners.
Step 5
The snap rivet fasteners come assembled; you need to separate the two pieces of the snap rivet fastener
by removing the snap rivet pin from the snap rivet sleeve before you install them in the opacity shield.
Note
Start the two M3 thumbscrews in the corresponding M3 threaded holes. (The two M3 threaded holes do
Step 6
not have a 6509-E silk-screened next to them.) Do not thread the thumbscrews too far into the opacity
shield; two or three turns are sufficient.
Step 7
Open the envelope containing the disposable ESD wrist strap. Attach the disposable ESD wrist strap to
your wrist. Attach the other end of the wrist strap to exposed metal on the chassis.
Step 8
Position the opacity shield over the air intake side of the chassis so that the two thumbscrews on the
opacity shield are aligned with the unused top and bottom L-bracket screw holes on the chassis.
Press the opacity shield firmly against the side of the chassis and secure the opacity shield to the chassis
Step 9
with the two thumbscrews.
Catalyst 6509 Switch, Cisco 7606 Router, and Cisco 7609 Router with VPN Services Module Certification Note
12
A packaged opacity shield assembly with installation hardware for the Catalyst 6509 and
Catalyst 6509-E switch chassis (part number 800-26335-xx).
A packaged opacity shield assembly with installation hardware for the Catalyst 6506 and
Catalyst 6506-E switch chassis (part number 800-27009-xx).
An envelope with 60 FIPS tamper evidence labels.
An envelope containing a disposable ESD wrist strap.
Extra snap fasteners are included in the bag of installation hardware in case of loss or damage.
Figure
5), follow these steps:
OL-6334-01