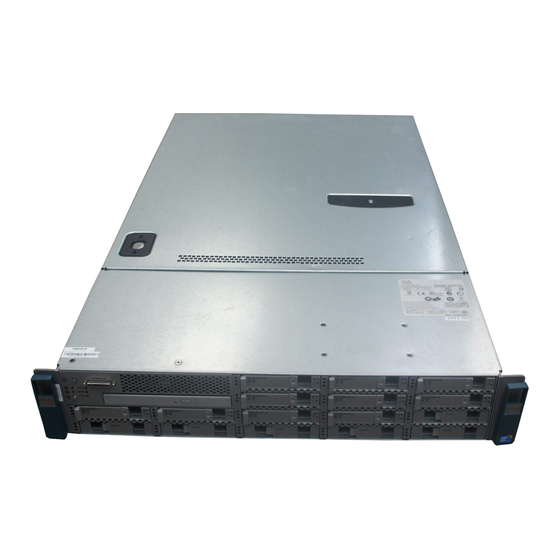
Cisco UCS C Series Handbuch zur Installation - Seite 6
Blättern Sie online oder laden Sie pdf Handbuch zur Installation für Server Cisco UCS C Series herunter. Cisco UCS C Series 19 Seiten. Security manager 4.3
Auch für Cisco UCS C Series: Tipps zur Fehlerbehebung (11 seiten), Upgrade-Handbuch (11 seiten), Upgrade-Handbuch (10 seiten), Schnellstart-Handbuch (12 seiten), Einrichtung (10 seiten)

Installing the Server in a Rack
Figure 2: Attaching the Inner Rail to the Side of the Server
1
Left side of chassis
2
Right side of chassis
Step 3
Install the slide rail assemblies into the rack:
Note
The slide rail assemblies are not identical; there is a left rail and a right rail (as viewed from the rack front).
The assemblies are marked with "L" for left or "R" for right.
a) Align the front end of the left-side slide-rail assembly (marked "L") with the left-front rack-post (as you face the
front of the rack).
The slide rail front-end wraps around the outside of the rack post and the mounting pegs enter the rack-post holes
from the outside-front.
The bottom of the slide rail assembly lines up with the intended bottom of the rack unit.
b) Push the front mounting pegs into the rack-post holes until you hear them click and lock.
c) Adjust the slide-rail length until it reaches the rear rack post perfectly level.
Note
Ensure that the rail is perfectly level and that the same height rack-post holes are used in the front and rear
posts.
d) Hold open the rear-peg spring latch, then push the rear mounting pegs into the rear rack-post-holes
The rear mounting pegs enter the rear rack-post holes from the inside of the rack post.
e) Release the rear-peg spring latch to lock the rear pegs in place.
f) Attach the second slide-rail assembly to the opposite side of the rack. Ensure that the two slide-rail assemblies are at
the same height and are level front-to-back.
Ensure that all pegs are fully inserted into the rack post holes before installing the server to the rack.
Caution
Installing the Server
6
3
Right-side inner rail marked "R"
-
Installing the Server
