Cisco IG21R-NA-K9 Installationshandbuch - Seite 7
Blättern Sie online oder laden Sie pdf Installationshandbuch für Gateway Cisco IG21R-NA-K9 herunter. Cisco IG21R-NA-K9 18 Seiten.

IG21, IG21R and IG31R Hardware Installation Guide
Mounting the Router on a Wall Using Mounting Brackets
Figure 4
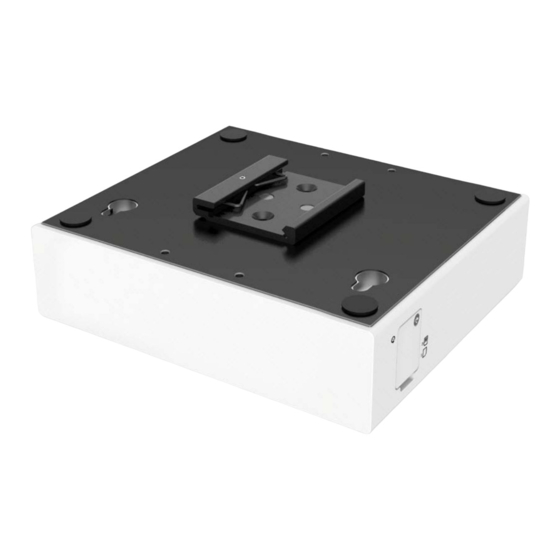
Attach the DIN Rail Bracket for Horizontal Installations for IG21R or IG31R
Mounting the Router on a Wall Using Mounting Brackets
The IG21, IG21R or IG31R can be mounted on a wall using the two molded brackets and screws shipped with the router. These brackets
are attached to the bottom of the router
The screw thread diameter is 4.0 mm, the screw head diameter is 8.0 mm, and the screw length is 4.7 mm.
CAUTION: If you are mounting the router on drywall, use four hollow wall anchors to secure the unit to the wall using the four screws
included in the kit.
1.
Measure the horizontal distance between the two sets of holes on the mounting brackets and the vertical height of the router to
determine placement on the wall. Mark the location of on the wall where the mounting screws will be anchored.
2.
Use a drill bit that matches the size of the hollow wall anchors and screw.
3.
Attach the IG21 to the wall ensuring the front panel as seen in
Day Zero Default Configuration
By default, the radio of the IG21 is turned on. The radio automatically scans to identify and select the least utilized frequency channels.
(Figure 5
and
Figure
6).
Figure 10
7
faces upward.
