Epson Stylus CX7400 Benutzerhandbuch - Seite 9
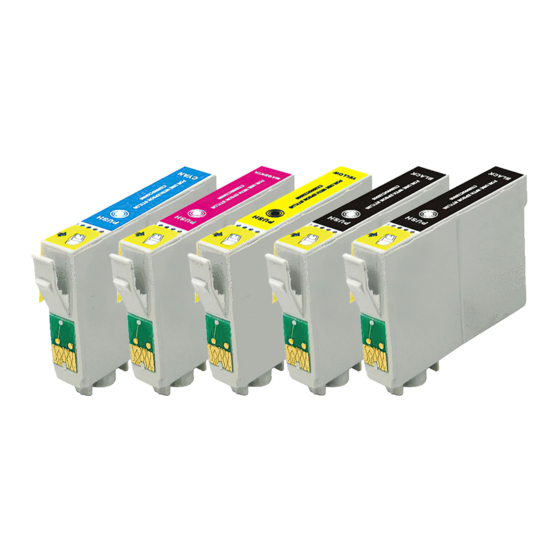
Blättern Sie online oder laden Sie pdf Benutzerhandbuch für Scanner Epson Stylus CX7400 herunter. Epson Stylus CX7400 12 Seiten. Ink cartridge for use with stylus cx5000; cx6000; cx7400; cx8400; cx9400f; cx9475f printers;
Auch für Epson Stylus CX7400: Service-Handbuch (20 seiten), Schnellstart-Handbuch (8 seiten), Kurzanleitung (48 seiten), Update (1 seiten), Handbuch (4 seiten)

If no other cartridges are low or expended, the print head
moves to the replacement position on the right. Go to
step 5.
Caution:
Do not move the print head by hand; this may damage the
CX7400 Series. Always press and release the
move it.
4. Press the y
button again.
Stop
If another cartridge is low or expended, it moves to the
_ position. Press the y
cartridges are low or expended.
If no other cartridges are low or expended, the print head
moves to the replacement position on the right.
5. Open the cartridge cover.
6. Squeeze the tab on the cartridge and lift the cartridge
straight up to remove it. Dispose of it carefully. Do not take
the used cartridge apart or try to refill it.
Warning:
If ink gets on your hands, wash them thoroughly with soap and
water. If ink gets into your eyes, flush them immediately with
water. Keep ink cartridges out of the reach of children.
y
Stop button to
button again to see if more
Stop
7. Before you open the new ink cartridge package, shake it
four or five times. Then remove it from the package.
Caution:
Do not touch the green chip on the front of the cartridge. This can
damage the ink cartridge.
8. Remove the yellow tape from the bottom of the ink
cartridge.
Caution:
Do not remove any other labels or seals, or ink will leak.
9. Insert the new ink cartridge into the cartridge holder and
push it down until it clicks into place.
10. Once you replace all the necessary cartridges, close the
cartridge cover and press it down until it clicks into place.
11. Close the scanner.
7/07
Epson Stylus CX7400 Series
9
