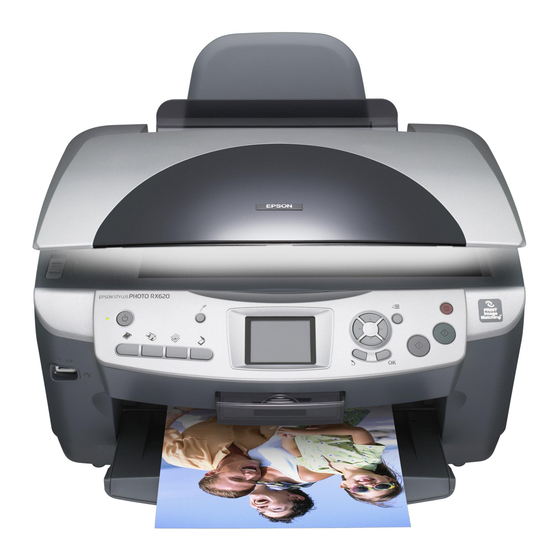
Copying
Overview of the Basic
Procedure
1.
Press the Copy button.
2.
Load appropriate paper.
& See "Loading Paper" of the next section
3.
Place the original document.
& See "Placing a Photo or Document on the
Document Table" on page 6
4.
Change the copy layout if necessary.
& See "Changing the Copy Layout" on page 7
Note:
Be sure to change the copy layout first before
changing the copy settings because all copy settings
(paper type, print quality, number of copies, paper
size) return to the default values when the copy layout
changes.
5.
You can change the copy settings if necessary.
& See "Changing Copy Settings" on page 8
6.
If the description of copy layout appears on the
LCD panel, confirm it, and then press the OK
button.
7.
Press the x Color button to copy in color, or
x B&W button to copy in grayscale.
Caution:
c
Never open the scanner unit while scanning or
copying; otherwise, you may damage this product.
Note:
Do not pull the paper out of this product.
Loading Paper
Note:
❏ Always load paper before you start printing.
❏ The print result is affected by the kind of paper you
use. For the best quality, use the appropriate paper.
❏ Keep enough space in front of this product for paper
to be fully ejected.
1.
Open the output tray and move the feeder guard
towards you.
2.
While holding down its locking tab, slide out the
left edge guide so that the distance between the
two edge guides is slightly wider than the paper.
3.
Fan a stack of paper, and then tap it on a flat
surface to even the edges. Load the paper with
the printable side facing down and resting
against the guide of the feeder guard.
guide
5
Copying

