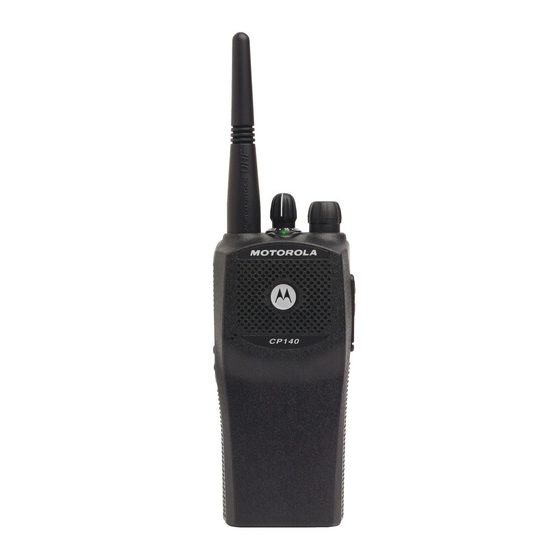
This section contains detailed troubleshooting tables. These tables should be used as a guide in
determining the problem areas. They are not a substitute for knowledge of circuit operation and
astute troubleshooting techniques. It is advisable to refer to the related detailed circuit descriptions
in the theory of operation sections prior to troubleshooting a radio.
Most troubleshooting tables end up by pointing to an IC to replace. It is not always noted, but it is
good practice to verify supplies and grounds to the affected IC and to trace continuity to the
malfunctioning signal and related circuitry before replacing any IC. For instance, if a clock signal is
not available at a destination, continuity from the source IC should be checked before replacing the
source IC.
1.0
Troubleshooting Table for Receiver
Symptom
Radio Dead (no
1. Battery dead or
turn-on beep, no
defective.
LED indication)
2. Defective battery
contacts.
3. Blown fuse
4. DC switching fault
5. Microprocessor not
starting up.
6. Regulator fault
Possible Causes
TROUBLESHOOTING TABLES
Procedure
Substitute known good battery or
battery eliminator.
Inspect battery contacts for corrosion
or bent terminals.
Check voltage on each side of fuse.
If blown, 0 VDC after fuse.
Verify battery voltage present at
S444 pin 5 when radio is on.
Verify Q494-1 is at least 1V dc,
Q494-6 is ~0.1V dc, Q493-3 is at
Vbatt.
Verify clock input to U401-90
(EXTAL) is 7.3975 MHz using high
impedance probe. If clock is 3.8MHz,
check for shorts on U401 pins.
Connect RIB to verify
communication via CPS.
Verify U401-94 (RESET) is high.
Verify U310-5 is 5V dc, U320-5 is
3.3V dc, U330-5 is 3V dc.
Chapter 3
Corrective Action
Charge or replace battery.
Clean/repair/replace J301.
Check for short on output,
check D301, VR301, trouble-
shoot/repair as needed, replace
fuse.
Check/replace on-off-volume
control S444.
Troubleshoot/replace Q493/4.
Verify 16.8 MHz signal at U451-
34. If OK, troubleshoot/replace
U451. If not present, trouble-
shoot U201 Synthesizer.
Reprogram/reflash as needed.
If RESET is Low, troubleshoot
regulator U320. Check for
shorts at U401 pins. Replace
U401 (depot only). Reprogram/
reflash as needed.
Check for shorts on outputs,
troubleshoot/repair as needed,
replace faulty regulator.

