Epson 7800 - Stylus Pro Color Inkjet Printer Handbuch zum Auspacken und Einrichten - Seite 21

Blättern Sie online oder laden Sie pdf Handbuch zum Auspacken und Einrichten für Software Epson 7800 - Stylus Pro Color Inkjet Printer herunter. Epson 7800 - Stylus Pro Color Inkjet Printer 27 Seiten. Stylus pro 800 series
Auch für Epson 7800 - Stylus Pro Color Inkjet Printer: Broschüre & Specs (8 seiten), Spezifikationen (4 seiten), Handbuch "Erste Schritte (10 seiten), Benutzerhandbuch (11 seiten), Kurzreferenz-Handbuch (12 seiten), Ergänzendes Handbuch (1 seiten), Eingeschränkte Garantie (12 seiten), Broschüre & Specs (8 seiten), Produkt-Support-Bulletin (10 seiten), Broschüre & Specs (16 seiten), Merkblatt (4 seiten)
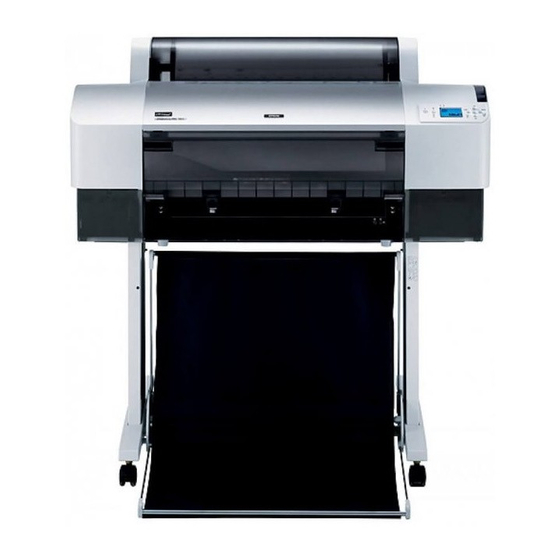
Epson 7800 - Stylus Pro Color Inkjet Printer Handbuch zum Auspacken und Einrichten
11. Press the Pause
button.
The printer heads move and the paper
automatically feeds into the printing position.
READY appears on the LCD panel.
Note:
Even if you do not press the Pause
print heads move and paper feeds into the printing
position automatically. READY appears on the LCD
panel.
Now you are ready to print on roll paper. Make
the printer driver settings, then send the print job.
(See the User's Guide for detailed informations).
Note:
❏ Allow time for the ink to dry thoroughly after
printing to ensure the printout quality.
❏ If you do not use the paper set above, remove it from
the printer. When you use roll paper, set the paper
lever to the released position, and wind it up. When
you use cut sheet, remove the paper from the printer
and store it separately.

Loading the Cut Sheet Media

To load cut sheet media longer than 483 mm (long
edge of Super A3/B), see the next section. To load
paper with a length of A4, Letter, A3, US B, and
Super A3/B, see "Loading Cut Sheet Media with
a Length of A4/Letter, A3/US B, and Super
A3/B" on page 22.
If you are printing on thick paper (0.5 to 1.5 mm),
see "Printing on Thick Paper (0.5 to 1.5 mm)" on
page 23.
Loading Cut Sheet Media Longer
than 483 mm (Long Edge of Super
A3/B)
To load cut sheet media longer than 483 mm,
follow the steps below.
c
Caution:
As much as possible, keep your fingers off the
printable surface of the media, as fingerprints
may reduce printout quality.
1. Make sure that the printer is on and the roll
paper cover is closed.
2. Press the Paper Source l button repeatedly
until Sheet
button, the
3. Make sure that the Power light is not flashing,
and then set the paper lever to the released
position. The LEVER RELEASED. LOAD PAPER
appears on the LCD panel.
c
4. Load the sheet into the paper insertion slot
until it comes out below. Make sure that the
right and bottom edges of the sheet are
straight and in line with the horizontal line
and the vertical line.
5. Set the paper lever to the secured position.
PRESS PAUSE BUTTON appears on the LCD
panel.
appears.
Caution:
Do not set the paper lever to the released
position while the Power light is flashing;
otherwise, damage may occur.
21