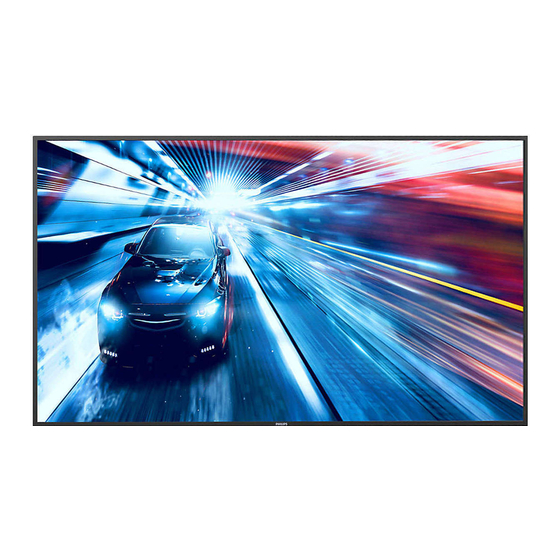
Philips Q-Line 55BDL3010Q Benutzerhandbuch - Seite 11
Blättern Sie online oder laden Sie pdf Benutzerhandbuch für Monitor Philips Q-Line 55BDL3010Q herunter. Philips Q-Line 55BDL3010Q 35 Seiten. Signage solutions
Auch für Philips Q-Line 55BDL3010Q: Benutzerhandbuch (38 seiten)

1.
Unpacking and Installation
1.1.
Unpacking
• This product is packed in a carton, together with the standard accessories.
• Any other optional accessories will be packed separately.
• Due to the size and weight of this display it is recommended for two people to move it.
• After opening the carton, ensure that the contents are complete and in good condition.
1.2.
Package Contents
Please verify that you received the following items with your package content:
• LCD display
• Quick start guide
• Remote control with AAA batteries
• Power cord
• RS232 cable
• RS232 daisy chain cable
• IR sensor cable
• USB cover and screw x1
NOTES:
• For all other regions, apply a power cord that conforms to the AC voltage of the power socket and has been approved by and complies with the
safety regulations of the particular country (Type H05W-F, 2G or 3G, 0.75 or 1 mm
• Keep the packaging materials appropriately after unpacking the product.
1.3.
Installation Notes
• Only use the power cable provided with this product. If an extension cord is required, please consult your service agent.
• The product should be installed on a flat surface, or the product may tip over. Leave a space between the rear of the product and the wall for proper
ventilation. Do not install the product in a kitchen, bathroom or a place exposed to moisture, failure to do so may shorten the life of the internal
parts.
• Do not install the product where it is 3000m and higher in altitude. Failure to do so may result in malfunctions.
LCD display
* The supplied power cord varies depending on destination.
Power Cord
RS232 Daisy Chain Cable
IR Sensor Cable
* Items may differ in different locations
* Display design and accessories may differ from the images shown.
1
Quick start guide
RS232 Cable
USB Cover
Screw
2
should be used).
NORMAL
ID
SOURCE
FORMAT
LIST
INFO
ADJUST
OPTIONS
VOL
ID SET
ENTER
Remote Control
and AAA Batteries
