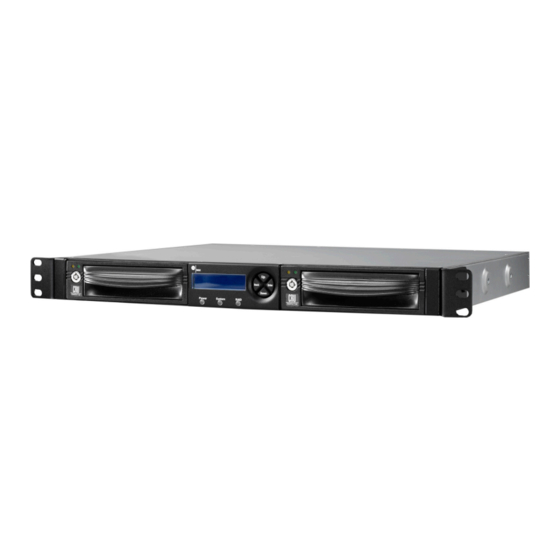
CRU RAX211-3QR Benutzerhandbuch - Seite 3
Blättern Sie online oder laden Sie pdf Benutzerhandbuch für Gehege CRU RAX211-3QR herunter. CRU RAX211-3QR 10 Seiten. Rack enclosure
Auch für CRU RAX211-3QR: Handbuch (2 seiten)

RAID
•
Use only hard drives that are in perfect condition.
Avoid using drives that have ever developed bad
sectors during previous usage. This could lead to
possible device failure or loss of data.
•
The unit supports SATA hard drives of various
specifications and different capacities. However,
we recommend using drives of the same brand and
type for optimal performance. If drives of different
capacities are used in a RAID, the capacity of the
smallest drive will determine how much of each drive
is used. The additional capacity on the larger drives
will not be used by the RAID.
•
RAID level 0 will allow you to use the full combined
capacity of the drives, and offers the best data transfer
speeds. However, RAID 0 offers no protection for the
data. If one drive fails in a RAID 0, the data on all of
the drives is irretrievably lost. Before creating a RAID,
investigate the various RAID types and choose the
one that is best for your needs.
•
Always back up data before switching RAID types.
Switching RAID types will destroy current
data. You must reformat your drives afterwards.
2 Introduction to RAID
A RAID (Redundant Array of Independent Disks) is an array of
multiple hard drives that are combined in a way that provides
faster performance and/or data safety. Your RAX 3QR unit is
capable of creating and managing several different varieties
of RAID. You may choose your preferred RAID level based on
factors such as disk capacity, desired data safety, and desired
performance.
2.1 Summary of RAID Levels
RAX 3QR units support JBOD and RAID Levels 0 and 1.
RAID Level 1 is used by those seeking data safety.
RAID
Description
Level
Known as "Just a Bunch Of Disks".
This is not a type of RAID as each
JBOD
disk is created with its own inde-
pendent volume. There is no data
protection.
Also known as striping. Data dis-
0
tributed across all drives in the ar-
ray. There is no data protection.
Also known as mirroring. All data
replicated on two separate disks.
1
Due to the 100% duplication, only
half the total disk capacity is avail-
able for data storage.
Page 3
3 Installation Steps
3.1 Installing Hard Drives
Required
Fault
No. of
Tolerance
Drives*
3.2 Host Connections
RAX 3QR units connect to your computer in one of four
No data
ways; USB 3.0, USB 2.0, Firewire 800, or eSATA. Choose
1
protection
one of the four cable types to use and plug it into the unit.
Each bay requires its own data connection.
No data
2
3.3 Operating Your RAX 3QR unit
protection
Connect the data cables to the RAX 3QR unit and your
computer. Plug in the power cord to a grounded electrical
outlet. Insert hard drives into the unit and turn on the power.
2
1 drive
•
•
3.1.1 TrayFree™ Bay Drive Installation
NOTE: This subsection refers only to the RAX210-
3QR unit.
a.
Pull on the ejection handle to open the door.
b. Slide in your SATA hard drive, connector-end first
with the label facing up.
c.
Shut the door by pushing on the handle.
3.1.2 Drive Installation for RAX with Removable Carriers
NOTE: This subsection refers only to the RAX211-
3QR unit.
a.
Slide the drive carrier out of the RAX 3QR unit.
b. The carrier's cover is held in place by a screw on the
rear of the unit. Remove the screw and then remove
the cover.
c.
Slide the drive in from the front of the carrier.
d. Mate the connection on the drive with the connection
on the drive carrier circuit board.
e.
Flip the drive/carrier assembly over and secure the
drive in place with the provided screws.
f.
Attach the Temperature Control Cooling Sensor to
the top of the drive with a piece of tape.
g. Replace the carrier cover and secure the screw on
the rear of the carrier.
h. Slide the carrier into the RAX 3QR unit.
For the RAX210, the drives will begin to spin up
automatically.
For the RAX211, use the included set of keys to turn
CRU Mark
10.25.12
PMS 711
2 cyan
