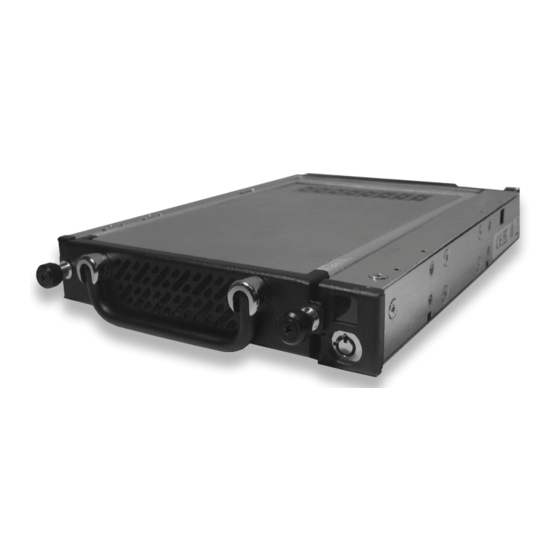
CRU Dataport Data Express DE275 Handbuch installieren
Blättern Sie online oder laden Sie pdf Handbuch installieren für Gehege CRU Dataport Data Express DE275 herunter. CRU Dataport Data Express DE275 2 Seiten. Removable sas/sata drive enclosure

Data Express DE275 SAS/SATA Install Guide
Removable SAS/SATA Drive Enclosure
The DE275 SAS/SATA enclosure is designed to incorporate the rug-
ged security of the DE200 with the low profile size of the DE75. The
DE275 includes two thumb screws for even greater stability. The 1"
low profile design of the DE275 minimizes the space required for
installation.
Note: CRU recommends that the DE275 carrier not be used in
DE75 frames, nor should DE75 carriers be used in the DE275
frame. While the DE275 and the DE75 are physically the same
CRU does not intend for the product lines to be interchanged.
Package Contents
1 - DE275 carrier assembly
1 - DE275 frame assembly
1 - Key set
1 - Alignment tool
2 - 4-40 x 1/8" Flathead screws (carrier cover)
4 - 6-32 x 1/4" Flathead screws (drive mounting)
4 - M3 x 6mm Trusshead screws (frame mounting)
Receiving Frame Board
Factory-Installed Jumper (Pins 15 & 17) – Factory-installed
jumper. DO NOT REMOVE!
Remote Activity LED (RLED) – These pins provide a remote
LED device activity indicator (Pin 13=Cathode, Pin 14-Anode).
Frame Data Connectivity – For SATA operation the SATA data
cable must be connected to the SAS/SATA Host 1 Connector.
SATA hard drives do not support the SAS Host 2 Connector. SAS
hard drives can use either SAS Host 1 Connector or SAS Host 2
Connector. The DE275 supports the SAS dual host feature for fail
over protection.
Figure 1: Receiving Frame Board (rear view)
Rugged, Reliable, Mobile, Secure
Frame Installation
For SATA operation connect a SATA data cable to the SATA/SAS
host 1 connector.
For SAS operation connect a SATA/SAS data cable to either
SATA/SAS Host 1 or SAS Host 2 connector.
For dual host capabilities connect SATA/SAS data cable to SATA/
SAS Host 1 and SAS Host 2.
Connect SATA power or ATX power to the power connectors on
the back of the DE275. The DE275 will support either ATX or
SATA power.
Slide the frame into an available drive bay and secure the frame.
Drive Installation
1. Carefully insert the drive into the carrier. Slide the drive
towards the Drive Carrier Board, so that the I/O connector on
the drive mates with the connector on the Drive Carrier Board.
Turn the drive/carrier assembly over.
2. Fasten the drive into place with the four provided #6-32 Phillips
Under Cut Flat Hd. Screws. Some drives may require minor
adjustment, to position the drive before securing into carrier
with screws.
3. Install the provided drive cover. Insert the front end of the cover
first and then slide the cover towards the rear of the carrier.
Secure drive cover with the two provided #4-40 Phillips Under
Cut Flat Hd. Screws.
1-800-260-9800
www.CRU-DataPort.com
TM
