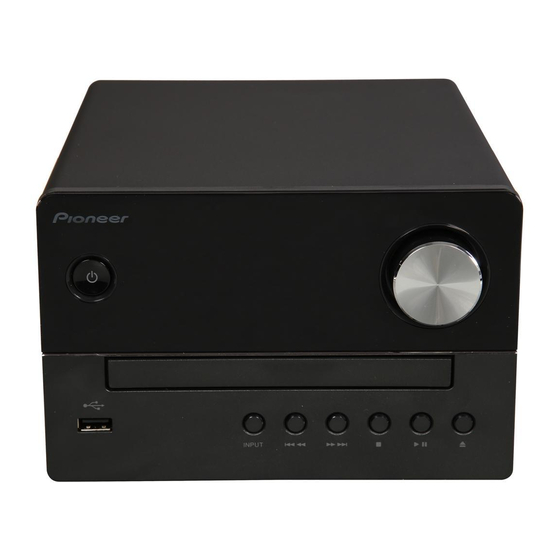
Pioneer X-EM26 Betriebsanleitung - Seite 9
Blättern Sie online oder laden Sie pdf Betriebsanleitung für Auto-Empfänger Pioneer X-EM26 herunter. Pioneer X-EM26 17 Seiten. System
Auch für Pioneer X-EM26: Betriebsanleitung (28 seiten)

FM antenna installation
• For best results, extend the FM antenna fully and fix to a
wall or door frame. Don't drape loosely or leave coiled up.
• Never tug strongly on the antenna line since damage of an
antenna may be caused.
• This product does not support MW (medium wave) radio
reception.
ANTENNA
AUDIO IN
SPEAKERS
R
L
FM
FM
Connect power
• Before you connect the AC power cord, make sure that
you have completed all other connections.
ANTENNA
AUDIO IN
SPEAKERS
R
L
FM
Connect the AC power cord to the wall outlet.
Getting started
CAUTION
• Use of controls or adjustments or performance of
procedures other than herein expressly specified may
result in hazardous radiation exposure or other unsafe
operation.
Always follow the instructions in this chapter in sequence.
Turning on
1
Press Í
This product switches to the last selected source.
Setting the clock
• During setting, if no action is made within 65 seconds, the
system exits clock setting without saving earlier
operations.
• When power supply is restored after unit is plugged in
again or after a power failure, reset the clock.
1
Press Í to turn the power on.
2
Press TIMER on the remote control.
If [SELECT] or [PLAY SET] appears, press
select [CLOCK], and then press
Press / to set the hour, then press
3
The hour digits will blink.
4
Press / to set the minute, and then press
.
The minute digits blink.
To display the clock when the system is off:
Press DISPLAY. The clock is displayed for about 8 seconds.
To the wall
Selecting a source
outlet
Press INPUT repeatedly to select a source.
• [CD]: the disc in the disc tray
• [USB]: .mp3 files stored on the connected USB storage
device
• [BT AUDIO]: Bluetooth capable device that is paired (X-
EM26 only)
• [FM]: the FM radio
• [AUDIO IN]: the audio input through the AUDIO IN
socket
/
to
.
.
9
En
