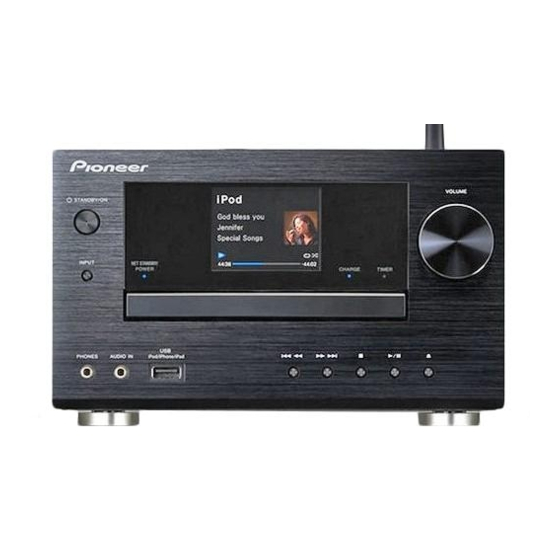
Pioneer X-HM71-S Betriebsanleitung - Seite 7
Blättern Sie online oder laden Sie pdf Betriebsanleitung für Auto-Empfänger Pioneer X-HM71-S herunter. Pioneer X-HM71-S 42 Seiten. Network cd receiver system
Auch für Pioneer X-HM71-S: Schnellstart-Handbuch (33 seiten)

1
1
Remote control
STANDBY/ON
1
OPEN/CLOSE
NET STANDBY
TIMER
SLEEP
2
CD
iPod
USB
SOUND
3
NETWORK
TUNER AUDIO IN
P.BASS
LINE
BT Audio
Favorite
TREBLE
BAND
CD DISP
DIMMER
BASS
4
5
iPod
TOP
6
VOLUME
MENU
CONTROL
7
ENTER
SETUP
RETURN
PTY
RDS DISP
MUTE
8
TUNER EDIT
1
2
3
REPEAT
4
5
6
9
SHUFFLE
7
8
9
PLAY MODE
0
10
100
FOLDER
ENTER
CLEAR
10
1
STANDBY/ON
Switches the receiver between standby and on (page 18).
2
CD Receiver control buttons
NET STANDBY– Switches the receiver to the Network
Standby mode. During AirPlay or DMR, the receiver
automatically turns on.
TIMER – Use for setting the clock, as well as for setting
and checking the timers (page 11).
SLEEP – Press to change the amount of time before the
receiver switches into standby (30 min. – 60 min. – 90
min. – Off). You can check the remaining sleep time at
any time by pressing SLEEP once (page 12).
11
3
Input function buttons
Use to select the input source to this receiver.
BT Audio – Use to set up or play the audio file using the
Bluetooth network (page 16). (X-HM81 and XC-HM81 only)
4
BAND
12
Switches between AM, FM STEREO and FM MONO radio
bands (page 30).
5
CD DISP
13
Displays the disc information (page 20).
14
6
CD Receiver control buttons
TOP MENU – Displays the top menu of each input source.
Displays the Noise Cut menu in Tuner. Displays BT menu
in BT Audio.
15
iPod CONTROL – Switches between the iPod controls and
the receiver controls (page 15).
SETUP – Press to access the receiver setup menu
16
(page 11).
RETURN – Exit the current menu screen.
7
/// (TUNE /, PRESET /), ENTER
17
Use to select/switch system settings and modes, and to
confirm actions.
TUNE / can be used to find radio frequencies and
18
PRESET / can be used to select preset radio stations
(page 30).
19
8
Playback control buttons
The main buttons (, , etc.) are used to control each
function after you have selected it using the input function
buttons (page 18).
PTY – Use to search for RDS program types (page 31).
RDS DISP – Use to display the RDS information (page 31).
9
Numeric buttons
Use to enter the number.
10
ENTER, CLEAR
Use to select/switch system settings
11
OPEN/CLOSE
Use to open or close the disc tray (page 18).
12
Sound control buttons
Adjust the sound quality (page 13).
13
+Favorite
Use to add an audio file or a station to Favorites function
(page 23).
14
DIMMER
Dims or brightens the display. The brightness can be
controlled in three steps (page 12).
15
Volume control buttons
Use to adjust the listening volume (page 13).
16
MUTE
Mutes/unmutes the sound (page 13).
17
TUNER EDIT
Memorizes/names stations for recall (page 30).
18
Playback mode buttons
REPEAT – Press to change repeat play setting from a CD,
iPod, USB, Internet Radio, Music Server or Favorites.
SHUFFLE – Press to change shuffle play setting from a CD,
iPod, USB, Internet Radio, Music Server or Favorites.
PLAY MODE – Press to change the playback mode
between CD and MP3/WMA disc (page 19).
19
FOLDER +/-
Use to select the folder of the MP3/WMA disc (page 20).
.
Controls and displays
7
