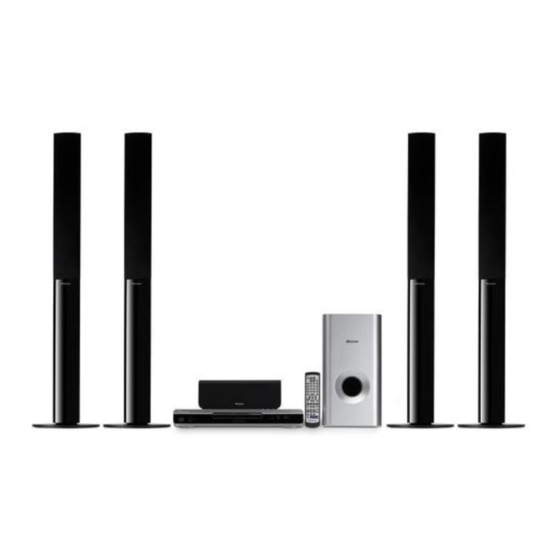
Pioneer XV-DV360 Betriebsanleitung - Seite 42
Blättern Sie online oder laden Sie pdf Betriebsanleitung für Empfänger Pioneer XV-DV360 herunter. Pioneer XV-DV360 48 Seiten. 5.1 home theater system with usb* connection for jpeg “slideshow with music”
Auch für Pioneer XV-DV360: Spezifikationen (2 seiten), Einrichten (2 seiten)

10
Additional information
Tuner
Problem
Considerable noise in
radio broadcasts.
Auto tuning does not
pick up some stations.
USB connection
Problem
USB mass storage
device is not recognized
by the system.
Files don't show up in
the Navigator/Photo
Browser.
Can't play WMA or
MPEG-4 AAC files.
HDMI connection
Problem
No HDMI audio output.
No HDMI video output
42
En
Remedy
• Connect the AM antenna (refer to the Setup Guide) and adjust the direction and
position for best reception. You may also connect an additional internal or external
AM antenna (refer to Connecting auxiliary audio components on page 31).
• Fully extend the FM wire antenna, position for best reception, and secure to a
wall. You may also connect an outdoor FM antenna (see Connecting external
antennas on page 31).
• Turn off other equipment that may be causing the noise or move it further away.
• Australian model only – The tuning interval is incorrect for your country or
region. See Frequency step setting on page 39 to switch the tuning interval.
• The radio signal is weak. Auto tuning will only detect radio stations with a good
signal. For more sensitive tuning, connect an outdoor antenna.
Remedy
• Make sure you have completely inserted the USB connector to this unit.
• Check that the memory format is FAT16 or FAT32.
• USB devices with an internal USB hub are not supported.
• The files must have the correct file extension: .mp3 for MP3 files; .wma for WMA
files; .m4a for MPEG-4 AAC files; .jpg for JPEG files (upper or lower-case is OK).
• Make sure the file permission hasn't been restricted (through a password, etc.).
• The files were recorded using DRM (digital rights management) or FairPlay copy-
protection. This is not a malfunction.
(U.K. model only)
Remedy
• See Switching the HDMI audio setting on page 34 to make sure that AUDIO ON
is selected.
• Make sure that you've selected this player as the HDMI input in the settings for
the component you're using (refer to the component's instruction manual).
• Check that the HDMI cable is connected properly and isn't damaged.
• Check that components connected using the HDMI interface are switched on
and HDMI compatible. (components must be compatible with both DVI and High
Bandwidth Digital Content Protection (HDCP).)
• This unit has been designed to be compliant with HDMI Version 1.1. Depending
on the component you have connected, using a DVI connection may result in
unreliable signal transfers.
• Make sure the resolution on this player matches that of the component you have
connected using HDMI (see Video Output settings on page 26).
• If the screen goes blank after changing the resolution, it means the you selected
a resolution incompatible with your monitor. See Resetting the HDMI connection
on page 34 to reset to the factory defaults.
