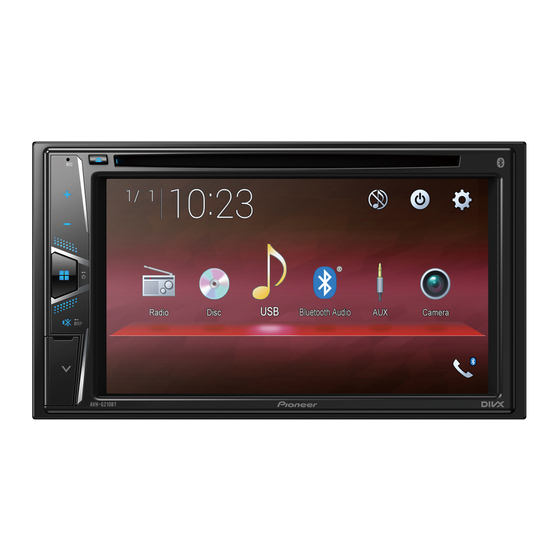
Pioneer AVH-G210BT Installationshandbuch - Seite 4
Blättern Sie online oder laden Sie pdf Installationshandbuch für Stereo-Empfänger Pioneer AVH-G210BT herunter. Pioneer AVH-G210BT 41 Seiten. Rds

With internal amp
Important
Front speaker and Rear speaker are output
from the speaker leads when this
connection is in use.
System remote control
Connect to Blue/white cable.
Power amp (sold separately)
Connect with RCA cable (sold
separately)
To Rear or subwoofer output
Rear speaker or subwoofer
To Front output
Front speaker
Subwoofer
NOTES
• You can change the RCA output of the
subwoofer depending on your
subwoofer system.
• The subwoofer output of this product is
monaural.
Smartphone (Android™
device)
Connecting via the USB port
4
En
USB port
USB - micro USB cable (Type USB A -
micro USB B) (supplied with CD-MU200
(sold separately))
USB Type-C cable (Type USB A - USB C)
(supplied with CD-CU50 (sold
separately))
Smartphone
NOTE
The length of Type USB A - micro USB B
cable cannot exceed 2 m and Type USB A -
USB C cannot exceed 4 m according to the
USB cable standard. When using a cable
other than above conditions, the main unit
function may not operate properly.
Camera
About rear view camera
When you use the rear view camera, the
rear view image is automatically switched
from the video by moving the gearstick to
REVERSE (R). Camera View mode also
allows you to check what is behind you
while driving.
WARNING
USE INPUT ONLY FOR REVERSE OR MIRROR
IMAGE REAR VIEW CAMERA. OTHER USE
MAY RESULT IN INJURY OR DAMAGE.
CAUTION
• The screen image may appear reversed.
• With the rear view camera you can keep
an eye on trailers, or back into a tight
parking spot. Do not use for
entertainment purposes.
• Objects in rear view may appear closer or
more distant than in reality.
• The image area of full-screen images
displayed while backing or checking the
rear of the vehicle may differ slightly.
Rear view camera (ND-BC8) (sold
separately)
To video output
RCA cable (supplied with ND-BC8)
This product
Rear view camera input (R.C IN)
Power supply
Power cord
Violet/white (REVERSE-GEAR SIGNAL
INPUT)
Refer to Power cord on page 3.
NOTES
• For mounting the camera, follow the
instructions for mounting the camera.
Use a camera whose power lead is
connected to the ACC switch.
• Connect only the rear view camera to R.C
IN. Do not connect any other equipment.
• Some appropriate settings are required
to use rear view cameras. For details, refer
to the Operation Manual.
External video component
and the display
This product
AUX input
Mini-jack AV cable (sold separately)
Yellow
Red, white
To Yellow
To Red, white
RCA cables (sold separately)
To video output
To audio outputs
External video component (sold
separately)
NOTE
The appropriate setting is required to use
the external video component. For details,
refer to the Operation Manual.
CAUTION
Be sure to use a mini-jack AV cable (sold
separately) for wiring. If you use other
