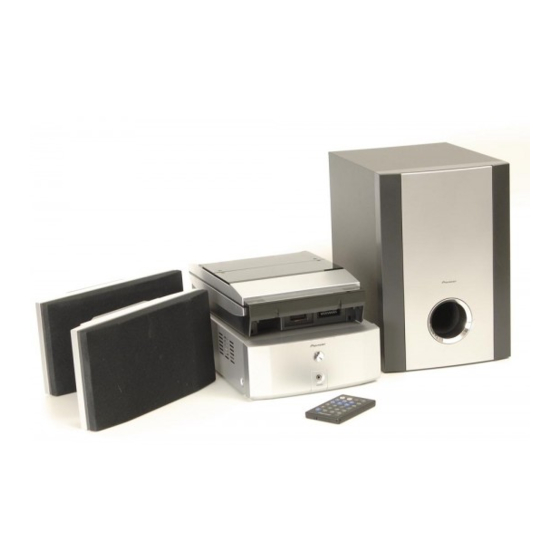
Pioneer CT-F10 Service-Handbuch - Seite 23
Blättern Sie online oder laden Sie pdf Service-Handbuch für Verstärken Pioneer CT-F10 herunter. Pioneer CT-F10 28 Seiten. Stereo cassette deck
Auch für Pioneer CT-F10: Betriebsanleitung (40 seiten), Ergänzende Betriebsanleitung (21 seiten), Wartungshandbuch (28 seiten)

6.2.1 Playback Section
(1) Tape Speed Confirmation
No.
Mode
Input Signal/Test Tape
1
PLAY
NCT-111 (3 kHz)
(2) Head Azimuth Confirmation
• This unit is equipped with auto tape selector.
• Do not switch between forward and reverse operation with the screwdriver inserted.
No.
Mode
Input Signal/Test Tape
NCT-132X
1
PLAY
(10 kHz, –20dB)
(3) Playback Level Adjustment
• Since this adjustment determines playback DolbyNR level, Perform it carefully.
No.
Mode
Input Signal/Test Tape
NCT-132X test tape
1
PLAY
(Playback: 315 Hz, 0 dB)
(4) Playback Frequency Characteristics Confirmation
No.
Mode
Input Signal/Test Tape
1
NCT-132X test tape
PLAY
6.2.2 Recording Section
(1) Recording Bias Adjustment
• After the adjustment, caution should be exercised so as not to become under bias by checking the distortion rate.
No.
Mode
Input Signal/Test Tape
Input a 315Hz (-26dBv)signal to
*
1
the REC IN terminal .
(W147:REC L) (W151: REC R)
Load the STD–633 test tape and
REC =
2
record/playback the 315Hz and
PLAY
10kHz signals. (see the Note below)
Note: Set the 10kHz input signal level to the same value as the 315Hz input signal level of step 1.
(2) Recording Level Adjustment
No.
Mode
Input Signal/Test Tape
Input a 315Hz (-10dBv)signal to
1
the REC IN terminal .
*
(W147:REC L) (W151: REC R)
• STD–633 test tape and record/
REC =
2
playback the 315Hz signal.
PLAY
• DOLBY NR : OFF
*
: In case of adjustment as a single unit, enter the signal at W147(RECL)and W151(RECR) ofMAIN ASSY. At this time, connect an output
buffer amplifier to the oscillator, and then connect a series resistor (180 Ω) after the impedance has become sufficiently low. (For MPX
filter impedance matching)
Adjustment Points
Measurement Points
No Adjustment
(PBR:W149)
(MAIN ASSY)
Adjustment Points
Head azimuth
No adjustment
Measurement
Adjustment Points
Points
VR2301
PB L cH(W150)
L ch
PB R cH(W149)
(MAIN ASSY)
VR2302
R ch
Measurement
Adjustment Points
Points
PB L cH(W150)
PB R cH(W149)
(MAIN ASSY)
Adjustment Points
Input signal level
FWD.VR2821
L ch
FWD.VR2822
R ch
Adjustment Points
Input signal level
VR2401
L ch
VR2402
R ch
Adjustment Value
PB OUT
3000 Hz+90Hz
- 60Hz
Measurement
Points
PB L cH(W150)
PB R cH(W149)
(MAIN ASSY)
Adjustment
Value
–6.0 dBV
Adjustment
Value
Measurement
Adjustment
Points
Value
PB L cH(W150)
–26 dBV
PB R cH(W149)
(MAIN ASSY)
Repeat adjustment until playback level of
REV.VR2823
the 10kHz signal is within -0.5dB ± 0.5dB
REV.VR2824
from that of the 315Hz signal.
Measurement
Adjustment
Points
Value
–10 dBV
PB L cH(W150)
PB R cH(W149)
Repeat recording, playback and
(MAIN ASSY)
adjustment until playback level of the
315Hz signal becomes –10dBV ± 0.5dB.
CT-F10
Remarks
REV Confirmation
( 3000 Hz + 90Hz )
– 60Hz
Remarks
FWD / REV
Confirmation
Remarks
FWD Adjstment
REV Confirmation
( – 6.0 dBv ± 2.0dB )
Remarks
Check that the frequency
characteristics is within the
range of Fig. 6-2.
Remarks
Remarks
23
