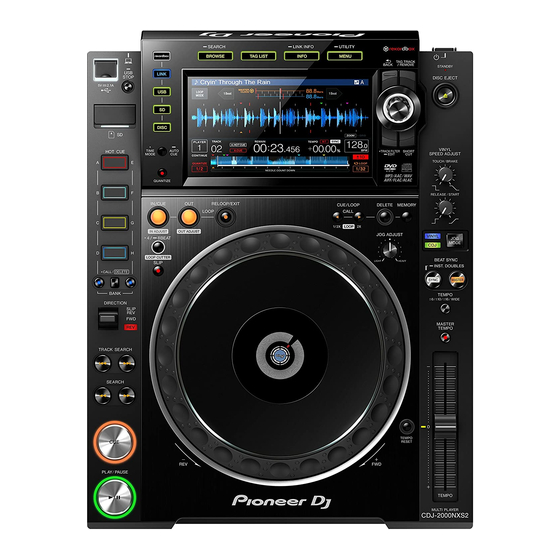
Pioneer CDJ-2000NXS2 Betriebsanleitung - Seite 32
Blättern Sie online oder laden Sie pdf Betriebsanleitung für DVD-Spieler Pioneer CDJ-2000NXS2 herunter. Pioneer CDJ-2000NXS2 43 Seiten. Multiplayer
Auch für Pioneer CDJ-2000NXS2: Betriebsanleitung (17 seiten), Schnellstart-Handbuch (4 seiten), Handbuch zum Anschluss (7 seiten)

1
2
3
1 List of
The contents of the tag list are displayed here.
contents
2 Medium
The name of the medium on which the track is recorded is
name
displayed here.
Part of the artwork registered in rekordbox is displayed here.
3 Jacket photo
When the [INFO/LINK INFO] button is pressed, the jacket photo
turns off and serial numbers are displayed.
4 Cursor
Turn the rotary selector to move the cursor up and down.
The categories displayed with rekordbox can be selected.
5 User-set
When the [INFO/LINK INFO] button is pressed, the details of
categories
the track selected with the cursor are displayed.
Adding tracks to the tag list
Selecting tracks and adding them
1 Switch to the browse screen and display the list of
tracks.
2 Set the cursor to the track and press the [TAG TRACK/
REMOVE] button.
appears at the left of the track and that track is added to that storage
device's (SD, USB) tag list.
! Tracks can be recorded in the tag list ahead of time using rekordbox.
= For detailed operating procedure, see the rekordbox (Mac/
Windows) user's manual.
Adding loaded tracks
1 Load a track.
2 Press the [TAG TRACK/REMOVE] button.
The track loaded in this unit is added to the tag list.
! The tracks being loaded can be added to the tag lists by pressing the
[TAG TRACK/REMOVE] button on the track's details screen.
Adding entire categories or folders
All the tracks in a selected category or folder can be added to the tag list.
1 Switch to the browse screen and set the cursor to the
category or folder that includes tracks directly under it.
A list of the tracks is displayed on the right half of the information display
screen.
2 Press the [TAG TRACK/REMOVE] button.
The category or folder name flashes, and all the tracks in that category or
folder are added to the tag list.
! When folders are added while in the folder browse mode, tracks for
which ID3 tags, etc., have not been loaded a single time are regis-
tered using the file name as the track name. The artist names are not
registered.
! After tracks have been added to the tag list, when the registered
tracks are displayed on the track list on the browse screen or are
loaded in a player and their ID3 tags, etc., are loaded, the file names
switch to the track names and the artist names are also registered.
32
En
4
5
Adding tracks from playlists
All the tracks on a selected playlist can be added to the tag list.
1 Switch to the browse screen and select and enter the
[PLAYLIST] category.
A list of the playlists is displayed, and a list of the tracks is displayed on
the right half of the information display screen.
2 Set the cursor to the playlist, then press the
[TAG TRACK/REMOVE] button.
The playlist name flashes, and all the tracks on that playlist are added to
the tag list.
Loading tracks from the tag list
1 Press the [TAG LIST] button.
The tag list is displayed.
! When multiple storage devices (SD, USB) are connected to the DJ
player, the number of the player to which that storage device (SD,
USB) is connected is displayed in front of the storage device's (SD,
USB) name.
2 Use the rotary selector to select and enter the storage
device (SD, USB).
When a storage device (SD, USB) is selected, the tag list on that storage
device (SD, USB) is displayed.
3 Use the rotary selector to select and enter the track
you want to load.
The track is loaded and playback starts.
Removing tracks from the tag list
Tracks can be removed from tag lists.
! If a track that has been added to the tag list is removed from the tag
list while it is playing, the track is played to the end, then the stop
mode is set. The next track is not played.
Removing one track at a time
1 Press the [TAG LIST] button.
The tag list is displayed.
2 Use the rotary selector to select and enter the storage
device (SD, USB).
When a storage device (SD, USB) is selected, the tag list on that storage
device (SD, USB) is displayed.
3 Use the rotary selector to set the cursor to the track
you want to remove.
4 Press the [TAG TRACK/REMOVE] button for over 1
second.
Tracks can be removed from tag lists by pressing the [TAG TRACK/
REMOVE] button at the screens and in the situations described below.
! When the cursor is set to a track registered in the tag list on the
browse screen
! When the normal playback screen or a track's details screen is
displayed while a track registered in the tag list is loaded
