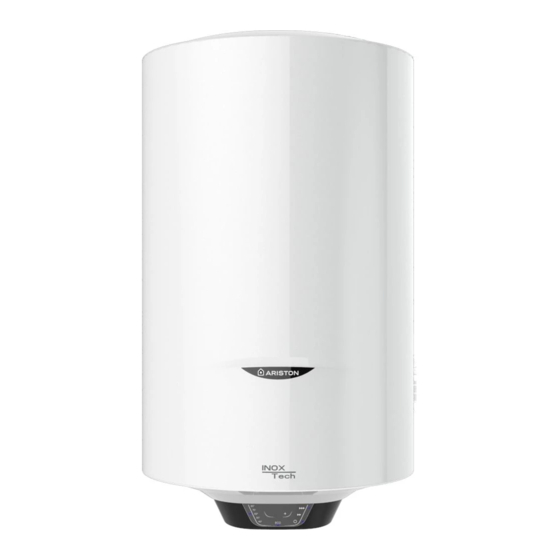
Ariston 80 Multis Anweisungen für Installation, Verwendung und Wartung - Seite 18
Blättern Sie online oder laden Sie pdf Anweisungen für Installation, Verwendung und Wartung für Warmwasserbereiter Ariston 80 Multis herunter. Ariston 80 Multis 41 Seiten.

EN
USER INSTRUCTIONS
Reset/Diagnostics
• For models featuring a user interface as represented in figures 3 and 4.
When one of the malfunctions described above occurs, the appliance will enter its "fault status" and all LEDs on
the control panel will flash simultaneously.
Reset: to reset the appliance, switch the product off and on again using the
malfunction disappears immediately following the reset process, the appliance will resume normal operation. If
this is not the case, all the LEDs will continue to flash; contact the Technical Assistance Centre.
Diagnostics: to enable the diagnostic function, hold the MAX button (Ref. A) for 5 seconds. The type of fault is
indicated by five LEDs (Ref. 1 5) according to the following scheme:
LED Ref. 1 – Internal P.C.B. malfunction;
LED Ref. 2 – Anode malfunction (in models fitted with active anode);
LED Ref. 3 – NTC 1/NTC 2 temperature sensors broken (open or short-circuited);
LED Ref. 5 – Water overheating detected by an individual sensor;
LEDs Ref. 4 and 5 – General overheating (P.C.B. malfunction);
LEDs Ref. 3, 4 and 5 – Operation without water.
Exit the diagnostic function by pressing the
• For models featuring a user interface as represented in figures 5 and 6.
When any of the operation problems occur, the appliance goes into "fault status" and the corresponding error
code flashes on the display (for example, E01). The error codes are the following:
E01 – E02 – E03 – Water overheating;
E10 – E11 – E12 – E13 – E16 – NTC sensor error (sensor malfunction);
E04 – Operation without water;
E14 – E15 – Anode error;
E50 – E51 – Maintenance request;
E60 – E90 – E91 – E92 – P.C.B. software error.
Reset: to reset the appliance, switch the product off and on again using the
malfunction disappears immediately following the reset process, the appliance will resume normal operation. If
this is not the case, the error code will continue to appear on the display; contact the Technical Assistance Centre.
"Thermal disinfection cycle" function (anti-legionella)
The anti-legionella function is activated by default. It consists of a heating/maintenance cycle of the water at 60°C
for 1h so as to carry out a thermal disinfection action against the relevant bacteria.
The cycle starts when the product is first switched on and may start following a power failure, depending on the
operating modes before the power failure and the duration of the same. If the product always work at a tempera-
ture below 55°C, the cycle is repeated after 30 days. When the product is off, the anti-legionella function is not
active. If the appliance is switched off during the anti-legionella cycle, the product turns off and the function is not
completed. At the end of each cycle, the operating temperature returns to the value set previously by the user.
The activation of the "anti-legionella cycle" is displayed as a normal temperature setting at 60°C. To permanently
disable the anti-legionella function simultaneously hold down the "ECO" and "MAX" buttons for 3 sec.; confirming
deactivation the led 40° will C flash rapidly for 4 sec. To reactivate the anti-legionella function, repeat the operation
described above; to confirm the reactivation of the led 60° C will flash rapidly for 4 sec.
Adjusting the temperature and activating the functions
• For models featuring a user interface as represented in figures 3 and 4:
button (Ref. A) to switch on the appliance. Set the desired temperature by using the "+" and "-" but-
Press the
tons to select a level between 40°C and 80°C. During the heating phase, the LEDs (Ref. 1 5) corresponding
to the temperature reached by the water so far remain lit in a fixed manner; all subsequent LEDs (up to the set
temperature) flash progressively.
If the temperature drops, for example after hot water has been used, the heating is reactivated automatically and
the LEDs between the last fixed light and the light corresponding to the set temperature will resume flashing
progressively.
The first time the product is switched on, it will be set to a temperature of 70°C.
In the event of a power failure or if the product is switched off using the
temperature remains memorised.
During the heating phase, a slight noise may be produced as a result of the water heating process.
The LED remains ON during heating.
18
button (Ref. A) or wait for 25 seconds.
button (Ref. A). If the cause of the
button (Ref. A). If the cause of the
button (Ref. A), the most recently set
