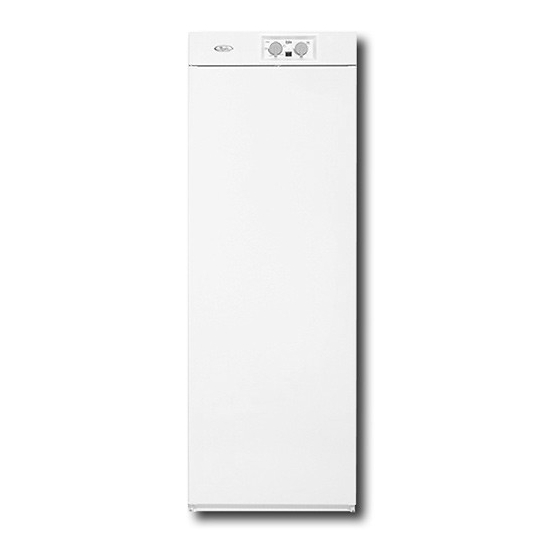
Whirlpool DryAire Installationsanleitung Handbuch - Seite 5
Blättern Sie online oder laden Sie pdf Installationsanleitung Handbuch für Trockner Whirlpool DryAire herunter. Whirlpool DryAire 16 Seiten. Drying cabinet

Unpack Drying Cabinet
Tip Over Hazard
Drying cabinet is top heavy and tips easily when
not completely installed.
Use two or more people to move and install
drying cabinet.
Failure to do so can result in serious injury
or cuts.
To prevent floor damage, set the drying cabinet onto the
cardboard prior to installation.
Install and Level Drying Cabinet
The drying cabinet may be installed with a panel trim kit or inside
custom cabinetry.
Move drying cabinet into position
1. Decide on the final location for the drying cabinet. Locate
existing wiring and plumbing to prevent drilling into or
severing wiring or plumbing during installation.
2. Keep the door taped closed until the drying cabinet is in its
final location.
3. As you slide the drying cabinet in so that it is flush and
centered with the cabinetry facing, route the power cord to
the 3 prong grounded outlet to avoid pinching the power
cord.
1
1. Drying cabinet centered
2. Cabinetry door
3. Drying cabinet flush with cabinetry facing
2
3
4. Remove tape and open the drying cabinet door. Slide out the
upper rack. Measure and note the distance from the drying
cabinet to the back panel or wall as shown.
1
2
3
4
1. Wall or panel behind drying cabinet
2. Wall stud
3. Back of drying cabinet
4. Mounting hole
5. Using a pencil, mark the location of the mounting holes on
the wall or back panel of the custom cabinetry. This will show
you the placement of the wood shim.
6. Slide the upper rack back and close the door. Keep the door
taped closed while it is being moved. Slide the drying cabinet
out.
7. Use a wood shim the thickness of the distance measured in
Step 4. The width of the shim cannot exceed 22 in. (55.9 cm)
or be less than 18 in. (45.7 cm). Attach the shim with the
appropriate length screws as shown.
NOTE: When attaching the shim, check to be sure that the
shim is attached solidly to the wall or custom cabinetry and
that the screws do not obstruct the drying cabinet mounting
holes.
1. Mounting hole markings
2. Wood shim
3. 18 in. (45.7 cm) Minimum/
22 in. (55.9 cm) Maximum width of shim
8. Slide the drying cabinet back into its final location. Remove
the door tape. Check to be sure that the shim is against the
back of the drying cabinet. If it is installed inside the custom
cabinetry, check that the front edge of the drying cabinet is
flush with the front of the custom cabinetry.
1
2
3
5
