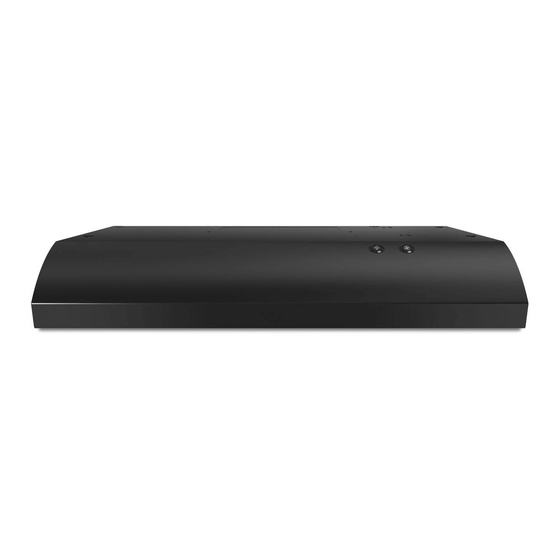
Whirlpool UXT3030AD Installationsanleitung und Gebrauchs- und Pflegeanleitung - Seite 8
Blättern Sie online oder laden Sie pdf Installationsanleitung und Gebrauchs- und Pflegeanleitung für Lüftungshaube Whirlpool UXT3030AD herunter. Whirlpool UXT3030AD 28 Seiten.
Auch für Whirlpool UXT3030AD: Installationsanleitung und Gebrauchs- und Pflegeanleitung (28 seiten)

5. Mark Hole Locations
Lift the range hood into place and insert the mounting bracket
tabs through the slots in the back of the range hood.
45˚+
90˚
C
D
Hold the range hood firmly in place with one hand and
bend each mounting tab (A) upward approximately 90°.
OPTIONAL: Mark the hole in each mounting tab.
Mark the hole at the power supply knockout (B).
For a top vented installation: Mark the 4 vent hole
locations (C) on the top of the range hood.
For a rear vented installation: Mark the 4 vent hole
locations (D) on the rear of the range hood.
OPTIONAL: Mark the hole in each mounting tab.
Remove the range hood and set it aside.
8
A
A
B
C
D
6. Mark and Cut Vent Opening
3
/
" x 10" (8.3 x 25.4 cm) Rectangular Vent System
1
4
Using a
/
" (13 mm) drill bit, drill a hole in each of the dots
1
■
2
marked previously on either the wall or upper cabinet. Using
the outside edges of the holes, mark the vent opening.
Using a jigsaw or keyhole saw, cut the vent opening.
■
7. Drill Electrical Opening
Using a 1
/
" (3 cm) drill bit, drill the hole in the dot
1
4
marked previously at the electrical strain relief.
OPTIONAL: Using a
/
" (3 mm) drill bit, drill pilot holes
1
8
for the dots marked previously at each mounting tab
at an approximate 45° angle in an upward direction.
