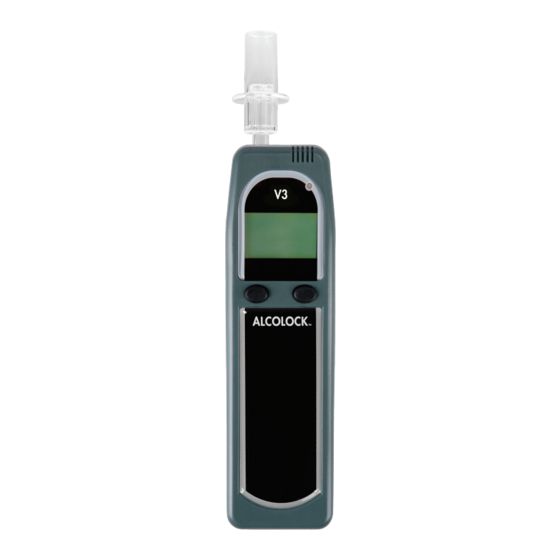
Alcolock V3 Installationshandbuch - Seite 5
Blättern Sie online oder laden Sie pdf Installationshandbuch für Prüfgeräte Alcolock V3 herunter. Alcolock V3 8 Seiten. Series b-2, 12v & 24v ecu

8.
Locate the wire in the vehicle's main harness that runs between the ignition switch and the
starter relay or solenoid. Cut this wire and attempt to start the vehicle (see diagram). The
vehicle engine should not start.
9.
Attach the 2 blue wires in the wiring harness to the key side of the cut starter cable (see
diagram).
10.
Attach the 2 blue / yellow wires in the wiring harness to the starter side of the cut starter
cable (see diagram).
11.
Solder all connections. Slide the heat shrink tubing over the joint and apply the heat gun. In
other cases, tape the joint.
12.
Tape or heat shrink the used wires in the wiring harness and tie wrap the wires. Connect the
wire harness to the ECU and replace all vehicle panels.
CONNECTING THE HANDSET
1.
Mount the handset clip fixture in an accessible location for the driver. Make sure it does not
obstruct any of the vehicle's controls.
2.
The clip fixture can be mounted on the dashboard of the vehicle using hook
and loop tape (attach the loop half of the hook and loop tape to the back of
the clip fixture, and attach the hook half to the dashboard) or using screws.
If screws are being used, attach the clip fixture to a flat part of the dashboard
for secure mounting.
3.
Plug one end of the interlock handset cable into the ECU and the other end
into the interlock handset. Place the handset in the handset clip fixture.
4.
Perform a visual inspection to ensure that the vehicle is back to its original
appearance from before the installation.
ACTIVATION
All ALCOLOCK V3 devices are shipped in pre-delivery mode, which does not require a breath test
in order to start the vehicle engine.
Prior to testing, the ALCOLOCK V3 device must be activated. Enter the following code
to activate: 2,1,3,2.
TESTING THE ALCOLOCK V3 DEVICE
1.
Once the ECU is installed and the handset is connected, attempt to start the vehicle engine
without providing a breath test. The vehicle engine should not crank or start.
2.
Wait for the Blow for 5 Seconds message on the handset display. Blow moderately and
continuously into the mouthpiece. A tone is heard. Keep blowing until the tone stops.
3.
Wait for the Start Motor message indicating the breath test has passed. Turn the key to start
vehicle engine. The vehicle engine should start. Drive Safely should be displayed within 5
seconds. If not, check the engine run connection.
4.
Turn off the ignition and attempt to start the vehicle engine again within 30 minutes. The
vehicle engine should start without requiring another breath test.
INSTRUCTION MANUAL
3
