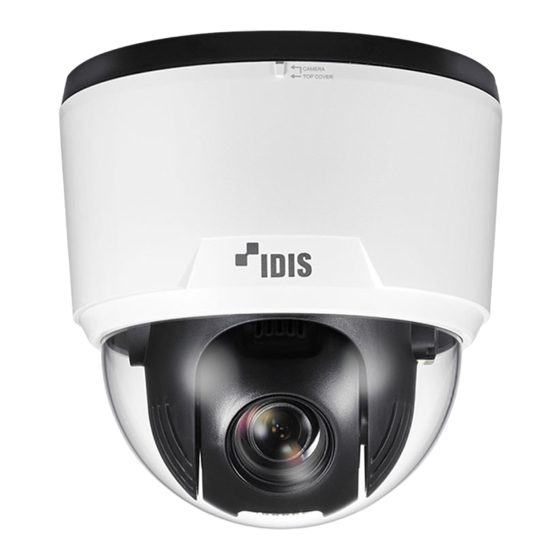
Direct IP IDIS DC-S6281HX Kurzanleitung - Seite 7
Blättern Sie online oder laden Sie pdf Kurzanleitung für Sicherheitskamera Direct IP IDIS DC-S6281HX herunter. Direct IP IDIS DC-S6281HX 12 Seiten.

2
Screw the sun shield to the camera body by using
the M3 screws provided with the sun shield.
3
Hook the safety wire of the outdoor bracket on the
safety wire ring of the camera body.
4
Screw the outdoor bracket to the sun shield by
using the M5 screws provided with the sun shield.
5
Connect the cable from the camera to the pipe.
6
Turn the universal nut to connect the camera to
the pipe.
7
Connect external devices, the network cable, and
the power adapter.
8
the power.
Supply
In case that a universal nut is not attached to a pipe
Connect the sun shield to the outdoor bracket as
follows:
1
Remove the install screw from the camera body.
2
Use the M3 screws provided with the sun shield to
secure the sun shield on to the camera body.
3
Assemble the outdoor bracket to the pipe by
turning the outdoor bracket.
4
Hook the safety wire of the sun shield on the
safety wire ring of the camera body.
Network Camera
5
Connect the cable from the camera to the pipe.
6
Screw the sun shield to the outdoor bracket by
2
using the M5 screws provided with the camera.
7
Connect external devices, the network cable, and
the power adapter.
8
Supply the power.
Flushed
The camera is mounted in the housing.
1
Refer to the installation guide pattern provided
with the product to drill a hole for flushing the
camera in the ceiling tile.
The ceiling tile cannot be thicker than 1.18"
(30mm).
2
Connect external devices, the network cable, and
the power adapter.
3
Insert the housing into the ceiling and turn the
screws of three clamps clockwise. The clamps are
laid over the ceiling tile and the housing is held in
the ceiling.
4
Connect the housing dome cover to the housing
can and turn it clockwise to secure the dome cover
to the housing.
5
Supply the power.
7
