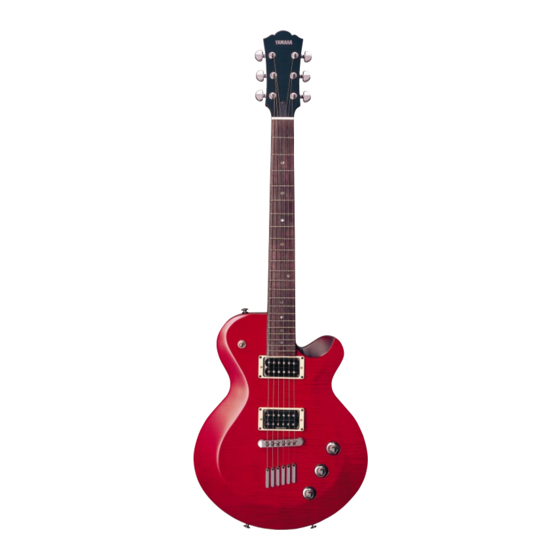
Yamaha AES620 Benutzerhandbuch - Seite 8
Blättern Sie online oder laden Sie pdf Benutzerhandbuch für Musikinstrument Yamaha AES620 herunter. Yamaha AES620 14 Seiten. Owners manual
Auch für Yamaha AES620: Service-Handbuch (4 seiten)

- 1. Table of Contents
- 2. Care and Maintenance
- 3. Tuning Machine Tension Adjustment
- 4. Height Adjustable Locking Nut
- 5. Setting the String Action
- 6. VIBRATO SYSTEM Vintage Type
- 7. VIBRATO SYSTEM Locking Type (Part 1)
- 8. VIBRATO SYSTEM Locking Type (Part 2)
- 9. Bridge/Spring Tension Adjustments
- 10. Truss Rod Adjustment
- 11. Pickup Height Adjustment
- 12. Correct Use and Handling of Batteries
- 13. Safety Precautions
For best results the bridge should always be adjusted so it is
parallel to the top surface of the guitar as shown in illustra-
tion (below). This position is maintained by opposing tension
between the strings and the claw springs. If you change string
gauge, you will need to readjust the spring tension to return
the bridge back to the parallel position.
The adjustment procedures are:
1) Remove the screws that attach the tremolo cavity back plate
from the back side of the guitar exposing the claw springs.
2) Make sure that the guitar is tuned to proper pitch.
3) If the bridge is tilted forward (up), tighten spring tension
by turning the claw screws clockwise. If the bridge is tilted
back (down), loosen the spring tension by turning the claw
screws counterclockwise.
(illustration — A)
Be sure to check string pitch after each adjustment to the
spring tension.
BRIDGE/SPRING TENSION ADJUSTMENTS
8
A
A
Adjust the height uniformly
using the two screws A.
