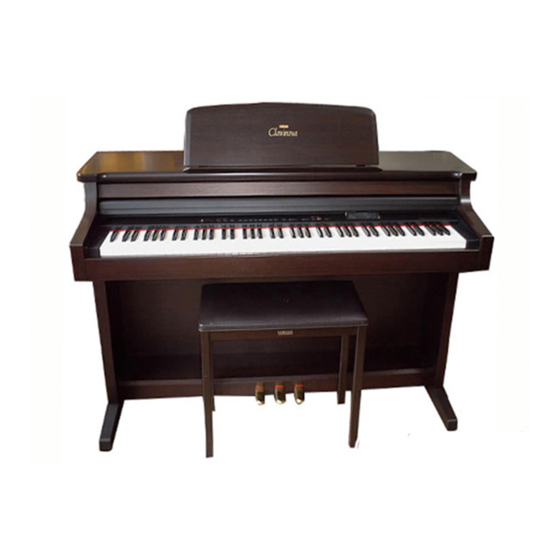
Yamaha Clavinova CLP-156 Benutzerhandbuch - Seite 36
Blättern Sie online oder laden Sie pdf Benutzerhandbuch für Musikinstrument Yamaha Clavinova CLP-156 herunter. Yamaha Clavinova CLP-156 45 Seiten. Yamaha clp-156: owners manual

Keyboard Stand Assembly
1
A
B
D
L
C
E
2
D
E
5 x 40 mm long gold screws
4
4 x 16 mm round-head screws
B
Black surface outward
36
5 x 40 mm long gold screws x 6
6 x 18 mm round-head screws x 4
D
4 x 16 mm round-head screws x 2
R
6 x 14 mm flat-head screws x 6
E
Bundled pedal cord inside
3
D
D
E
1
3
B
C
1
2
3
4
Cord clamps x 2
2
6 x 18 mm round-head screws
D
C
D
NOTE
• We do not recommend attempting to as-
semble the Clavinova alone. The job can be
easily accomplished, however, with only
two people.
• Use only the screws provided or replace-
ments of exactly the specified size. Using
screws of the wrong size can result in dam-
age to the instrument.
Z
Open the box and
remove all the parts.
On opening the box you should find
the parts shown in the illustration.
Check to make sure that all the re-
quired parts are provided.
X
Assemble the side
panels (D) and feet (E).
Secure the feet (E) to the side panels
(D) with the 5 x 40 millimeter long
gold-colored screws 1 (3 each), mak-
ing sure that the cutouts on the feet
face the bracket side of the side panels.
C
Attach the side panels
(D) to the pedal box (C).
Before installing the pedal box, untie
and straighten out the bundled pedal
cord attached to the bottom of the
pedal box.
Place the pedal box on top of the
brackets attached to the side panels
(D), and attach using the four 6 x 18
millimeter round-head screws 2 —
two screws on each side. Make sure the
pedals extend in the same direction as
the feet.
V
Attach the rear panel (B).
With the black surface of the rear
panel facing outward and the panel
angled slightly as shown in the illustra-
tion, lower it onto the screws protrud-
ing from the rear of the pedal box so
that the screws fit into the correspond-
ing slots in the lower edge of the rear
panel. Then, while eliminating any
gaps between the rear and side panels,
secure the top of the rear panel to the
side panel brackets using the two 4 x
16 millimeter round-head screws 3.
Finally, tighten the screws holding the
rear panel to the pedal box.
