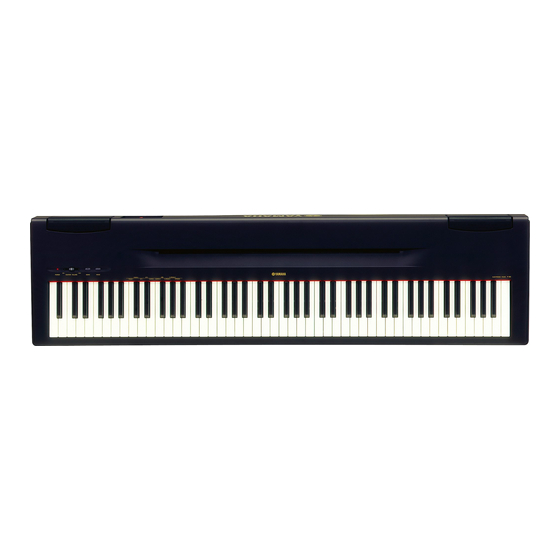
Yamaha P-60 Service-Handbuch - Seite 8
Blättern Sie online oder laden Sie pdf Service-Handbuch für Elektronische Tastatur Yamaha P-60 herunter. Yamaha P-60 42 Seiten. Yamaha p-60: quick start
Auch für Yamaha P-60: Benutzerhandbuch (40 seiten), Kurzbedienungsanleitung (2 seiten), Benutzerhandbuch (40 seiten)

P-60/P-60S
2.
DM Circuit Board (Time required: about 5 min)
2-1
Remove the upper case assembly. (See procedure 1.)
2-2
Remove the four (4) screws marked [330a]. The
shield cover and the DM circuit board can then be
removed. (Fig.3)
3.
D-JACK Circuit Board (Time required: about
5 min)
3-1
Remove the upper case assembly. (See procedure 1.)
3-2
Remove the two (2) screws marked [140], the
screw marked [150b] and the two (2) screws
marked [330b]. The D-JACK circuit board can then
be removed. (Fig.3)
[230]
6.
Speaker (Time required: about 6 min)
*
Both speakers can be removed in the same proce-
dure.
6-1
Remove the upper case assembly. (See procedure 1.)
6-2
Remove the two (2) screws marked [U60] to
[U20] Speaker Grille Assembly
[U60]
P-60
P-60S [U20]: Speaker Grille Assembly (WA297600)
8
P-60
[230]: Slide Knob (V8085100)
P-60S [230]: Slide Knob (V8083100)
[U50]
Speaker Cushion
(Fig. 6)
[U20]: Speaker Grille Assembly (WA297500)
[U50]: Bind Head Tapping Screw-B 4.0X8 MFZN2BL (EG340190)
[U60]: Bind Head Tapping Screw-B 3.0X8 MFZN2Y (EP600250)
4.
AM Circuit Board (Time required: about 5
min)
4-1
Remove the upper case assembly. (See procedure 1.)
4-2
Remove the eleven (11) screws marked [330c]. The
AM circuit board can then be removed. (Fig.3)
5.
PN Circuit Board (Time required: about 5 min)
5-1
Remove the upper case assembly. (See procedure 1.)
5-2
Remove the four (4) screws marked [330d]. (Fig.3)
5-3
Remove the slide knob marked [230]. The PN
circuit board can then be removed. (Fig.5)
(Fig. 5)
remove the speaker grille assembly. (Fig.6, Fig.7)
6-3
Remove the four (4) screws marked [U50]. The
[U50]
Speaker Cushion
[U20] Speaker Grille Assembly
[U60]
(Fig. 7)
