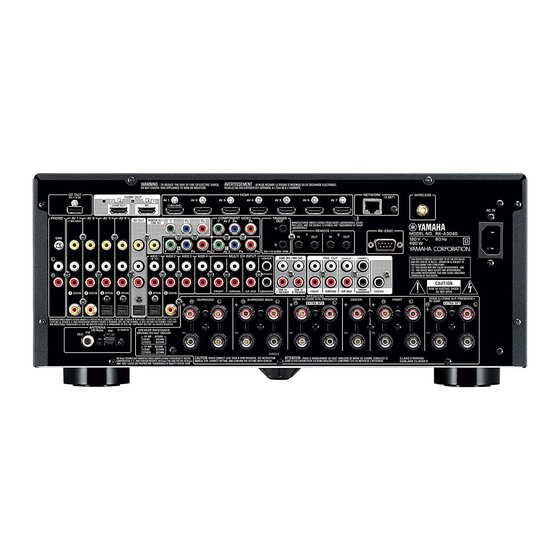
Yamaha Aventage RX-A2040 Kurzanleitung - Seite 4
Blättern Sie online oder laden Sie pdf Kurzanleitung für Empfänger Yamaha Aventage RX-A2040 herunter. Yamaha Aventage RX-A2040 8 Seiten. About dolby atmos
Auch für Yamaha Aventage RX-A2040: Setup-Handbuch (2 seiten), Zusätzliche Informationen (8 seiten), Handbuch zur einfachen Einrichtung (2 seiten)

SOURCE
SOURCE
RECEIVER
RECEIVER
RECEIVER z
AV
1
2
3
4
5
6
7
V-AUX
AUDIO
Input selection keys
1
2
3
4
PHONO
MULTI
USB
NET
TUNER
MAIN
2 3 4
PARTY
PARTY
HDMI OUT
HDMI OUT
ZONE
ZONE
SCENE
SCENE
1
1
2
2
3
3
4
4
PROGRAM
PROGRAM
MUTE
MUTE
VOLUME
VOLUME
TOP MENU
TOP MENU
POP-UP/MENU
POP-UP/MENU
ON
ON
OPTION
OPTION
SCREEN
SCREEN
ENTER
ENTER
RETURN
RETURN
DISPLAY
DISPLAY
BAND
BAND
MODE
MODE
TUNING
TUNING
PRESET
PRESET
SUR. DECODE
SUR. DECODE
STRAIGHT
STRAIGHT
MOVIE
MOVIE
MUSIC
MUSIC
ENHANCER
ENHANCER
PURE DIRECT
PURE DIRECT
INFO
INFO
SLEEP
SLEEP
1
1
2
2
3
3
4
4
5
5
6
6
7
8
8
MEMORY
MEMORY
9
9
0
0
10
10
ENT
ENT
TV
TV
INPUT
INPUT
TV VO
TV VOL
L
TV CH
T
V CH
MUTE
MUTE
CODE SET
CODE SET
4
Controlling Zone2 or Zone4
■ Controlling Zone2
Follow the procedure below to enable Zone2 output and select an
input source for Zone2.
1
Set the ZONE switch to "2".
2
Press RECEIVER z.
Each time you press the key, Zone2 is enabled or disabled.
When Zone2 is enabled, "ZONE2" lights up in the front
display.
Zone2:On
SP IMP. -
DOCK
TAG
HD
STEREO
TUNED PRE AMP PARTY
ZONE
2
ZONE
ZONE
3
4
IN
OUT 1
OUT 2
ENHANCER
SLEEP
HD
3
Lights up
3
Use the following keys to select an input source.
AV 1–7: AV 1–7 jacks
V-AUX: VIDEO AUX jacks (on the front panel)
AUDIO 1–4: AUDIO 1–4 jacks
PHONO: PHONO jacks
USB: USB jack (on the front panel)
NET: NETWORK jack (press repeatedly to select a desired
network source)
TUNER: FM/AM radio
• If you have made more than one audio connection for AV 1–4, V-AUX or
AUDIO 1–2, audio signals input to the unit from the external device is
determined according to the "Audio Select" setting in the "Option" menu. For
details, refer to the Owner's Manual in the supplied CD-ROM.
• You cannot select USB and network sources exclusively for each zone. For
example, if you select "SERVER" for Zone2 when "USB" is selected for the
main zone, the input source for the main zone also switches to "SERVER".
• Digital audio signals (HDMI, digital optical or digital coaxial signals) input to
the unit is available in Zone2 only when 2-channel PCM signals are input.
4
Start playback on the external device or select a
radio station.
For details about the playback operation, refer to the
instruction manual for the external device or Owner's
Manual on the supplied CD-ROM.
MUTE
VOLUME
ADAPTIVE
DRC
PL
L
C
R PR
SL
SW1
SW
SW2
SR
PL
SBL
SB
SBR
PR
