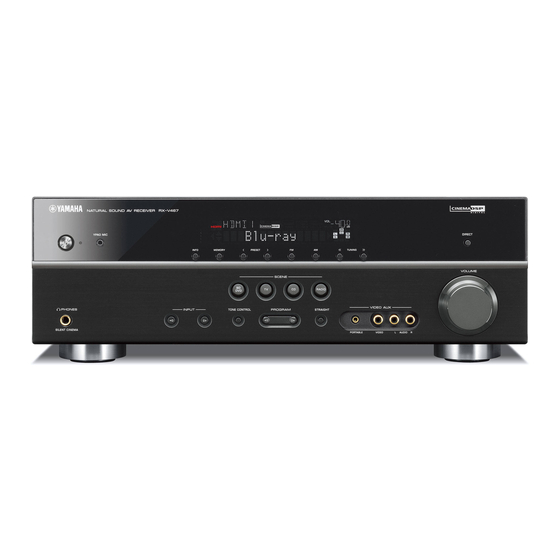
Yamaha RX-V567 Kurzreferenz-Handbuch - Seite 5
Blättern Sie online oder laden Sie pdf Kurzreferenz-Handbuch für Empfänger Yamaha RX-V567 herunter. Yamaha RX-V567 9 Seiten. Firmware update version f018 (including htr-4063/htr-5063)
Auch für Yamaha RX-V567: Hook-Up Diagram (2 seiten), Kurzreferenz-Handbuch (9 seiten), Update (5 seiten)

- 1. Preparing the Remote Control
- 2. Connections
- 3. Connect a Tv
- 4. Connect the Speakers
- 5. Connecting Speakers
- 6. Connecting the Subwoofer
- 7. Connect a TV
- 8. Listening to Tv Audio
- 9. Connect BD/DVD Players and Recorder
- 10. Connect the AC Power Cable
- 11. Setup Speaker Parameters Automatically
- 12. Set up the Speaker Parameters Automatically (YPAO)
- 13. Operation Guide
3
3
Connect playback device such as BD/DVD players and recorders
If your playback device has multiple audio/video outputs, connect with the following
priority (A to D) to enjoy a higher quality sounds and images.
A
When playback device is capable
of HDMI output
B
When playback device is capable
of component video output (with
optical digital audio output)
C
When playback device is capable
of component video output (with
coaxial digital audio output)
D
When playback device is capable
of video output (with analog
audio output) only
•
When playback, select the corresponding input source to which the jack is connected.
•
Connecting to HDMI1 allows you to select the HDMI input just by pressing the "BD/DVD" under "
•
Connecting to AV3 allows you to select the AV3 input just by pressing the "CD" under
•
If necessary, you can connect components that cannot be connected using the above methods, such as devices that output video from
component video output jacks and audio from analog output jacks. Refer to Owner's Manual for details.
•
Only U.K. and Europe models are equipped with the S VIDEO jacks. The video signals input from the S VIDEO jack are output only from
HDMI.
Set the VOLTAGE SELECTOR and connect the AC power cable
(Asia and General models)
4
4
Connect the AC power cable
(Other models)
(Asia and General models only)
Select the switch position according to your local voltage
using a straight slot screwdriver.
(General model)
Voltages are AC 110/120/220/230-240 V, 50/60 Hz.
(Asia model)
Voltages are AC 220/230-240 V, 50/60 Hz.
Caution
The VOLTAGE SELECTOR on the rear panel of this unit
must be set for your local voltage BEFORE plugging the
power cable into the AC wall outlet. Improper setting of
the VOLTAGE SELECTOR may cause damage to this
unit and create a potential fi re hazard.
HDMI
HDMI
(Ex.: U.K. and Europe models)
COMPONENT
VIDEO
P
R
P
B
Y
P
OPTICAL
O
P
COMPONENT
VIDEO
P
R
P
B
Y
COAXIAL
C
VIDEO
V
AUDIO
VOLTAGE SELECTOR
VOLTAGE
SELECTOR
- 5 -
ARC
ARC
HDMI OUT
HDMI OUT
DOCK
DOCK
ANTENNA
ANTENNA
COMPONENT
VIDEO
FM
FM
GND AM
GND AM
R
P
P
P
R
R
R
S VIDEO
S VIDEO
B
P
P
75
75
P
B
B
B
VIDEO
VIDEO
V
Y
Y
Y
Y
O
O
OPTICAL
COAXIAL
COAXIAL
COAXIAL
OPTICAL
OPTICAL
A A
AV
AV
(CD)
(CD)
( TV )
( TV )
OUT
OUT
C
SCENE" key.
"SCENE" key.
HDMI
(BD/DVD)
HDMI 1
HDMI 2
HDMI 2
HDMI 3
HDMI 3
C
COMPONENT
OMPONENT
VIDEO
VIDEO
P
P
R
R
P
P
B
B
VIDEO
VIDEO
Y
Y
MONITOR OUT
MONITOR OUT
To the power
outlet
AC power cable
