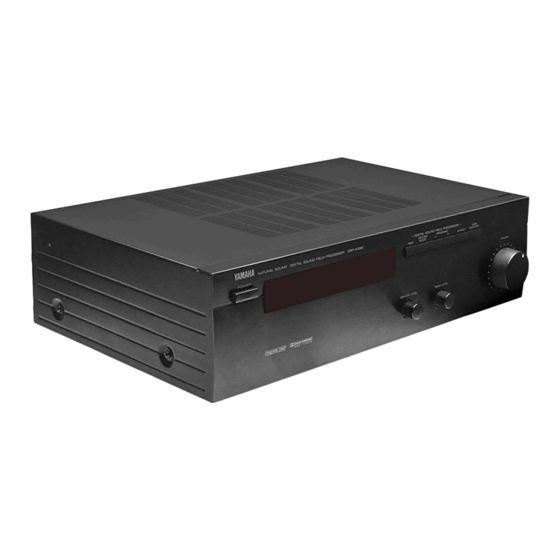
Yamaha DSP-E390 Benutzerhandbuch - Seite 8
Blättern Sie online oder laden Sie pdf Benutzerhandbuch für Lautsprechersystem Yamaha DSP-E390 herunter. Yamaha DSP-E390 16 Seiten. Natural sound digital sound field processor

- 1. Table of Contents
- 2. Safety Instructions
- 3. Supplied Accessories
- 4. Profile of this Unit
- 5. Speaker Setup
- 6. Integrated Amplifier or Stereo Receiver
- 7. Connections
- 8. Connecting Speakers
- 9. Identification of Controls
- 10. Speaker Balance Adjustment
- 11. Using Digital Sound Field Processor (DSP)
- 12. Notes about the Remote Control Transmitter
- 13. Troubleshooting
- 14. Specifications
CONNECTING SPEAKERS
Connect the SPEAKERS terminals to your speakers with wire
of the proper gauge, cut as short as possible. If the
connections are faulty, no sound will be heard from the
speakers. Make sure that the polarity of the speaker wires is
correct, that is, + and – markings are observed. If these wires
are reversed, the sound will be unnatural and will lack bass.
Do not let the bare speaker wires touch each other and do
not let them touch the metal parts of this unit as this could
damage this unit and/or speakers.
Note
Use speakers with the specified impedance shown on the rear
of this unit.
ABOUT THE ACCESSORY TERMINALS
AC OUTLET (UNSWITCHED)
This unswitched AC outlet can be used for connection of the
power cord from another audio component. Note that the
power to that component is not affected by the ON or OFF
setting of the POWER switch of this unit.
Note: The maximum power (total power consumption of
components) that can be connected here is 100 watts.
REAR OUTPUT terminals
These terminals are for rear channel line output. There is no
connection to these terminals when you use the built-in
amplifier.
However, if you drive rear speakers with an external stereo
power amplifier, connect the input terminals of the external
amplifier (MAIN IN or AUX terminals of a power amplifier or an
integrated amplifier) to these terminals.
CENTER OUTPUT terminal
This terminal is for center channel line output. There is no
connection to this terminal when you use the built-in amplifier.
However, if you drive a center speaker with an external power
amplifier, connect the input terminal of the external amplifier to
this terminal.
FRONT LEVEL switch
Normally set to "0 dB". If desired, you can decrease the
output level at the FRONT OUT terminals by 10 dB by setting
this switch to "–10 dB".
(Refer to "Notes" on page 11.)
8
-
l0dB 0 dB
FRONT
LEVEL
Red: positive (+)
Black: negative (–)
LOW PASS terminal
This terminal is for output to a monaural amplifier driving a
subwoofer. Only frequencies below 200 Hz from the front and
center channels are output.
ADDING A SUBWOOFER
You may wish to add a subwoofer to reinforce the bass
frequencies.
Connect the LOW PASS terminal to the INPUT terminal of
the subwoofer amplifier, and connect the speaker terminals
of the subwoofer amplifier to the subwoofer.
With some subwoofers, including the Yamaha Active Servo
Processing Subwoofer System, the amplifier and subwoofer
are in the same unit.
OUTPUT
LOW
PASS
fc:200Hz
CENTER
OUT
REAR
OUT
Press and open the tab.
Insert the bare wire.
[Remove approx. 5mm
(1/4") insulation from
the speaker wires.]
Press the tab back to
the original position and
secure the wire.
Subwoofer system
