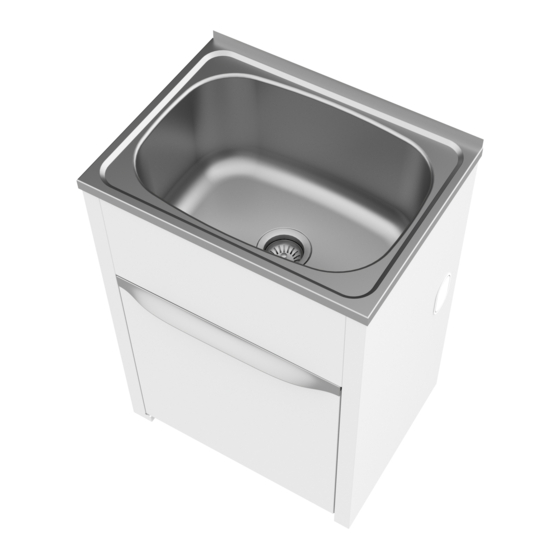
Clark 8051.1R Montageanleitung
Blättern Sie online oder laden Sie pdf Montageanleitung für Inneneinrichtung Clark 8051.1R herunter. Clark 8051.1R 2 Seiten. Flat pack tub & cabinet

Flat Pack Tub & Cabinet Assembly Instructions
(see reverse for part numbers)
CAUTION: Whilst all care is taken during the manufacture of this product there
may be sharp edges on some of the steel components. It is, therefore, recom-
mended that to prevent injury suitable gloves are worn whilst assembling this
product.
The Cabinet has been manufactured from quality
materials.To ensure you receive the Cabinet in the
same quality that it left our plant, it has been
covered with a protective plastic material. Please
remove this before assembly.
1
Slide one Front/Rear Head Panel (2) onto Side
Panels (1) and snap Panel Fixing Clips (3) into
place.
6
Align and insert the Door Assembly (7) with the
corresponding holes in the Hinge Base (5).
9
Optional: Install Floor Panel (9). The panel fits over both of the Kick
Panels.
2
Slide both Kick Panels (4) (Front and Rear) onto
the 3 tabs in the bottom corners of the side
panels.
4
Press fit the Hinge Base (5) into the corresponding
hole in the side panel on the side you would like
the door to hinge.
7
Align the second Front/Rear Head Panel (2) with
the Side Panels (1) and slide over the Door Hinge
Rod (6). Snap the remaining two Panel Fixing
Clips (3) into position.
10
Optional: Snap fit the Detachable
Child Lock (10) into the Door
Handle.
3
Using the Hinge Base (5) as an assembly aid
flatten the 8 base tabs to lock the panels together.
5
Insert the Hinge Rod (6) through the holes on the
Door Assembly (7).
8
Install Waste and Bypass fittings supplied with
Tub. Position Tub (8) on top of the Cabinet
Assembly.
11
Your Tub and Cabinet assembly is now ready for
installation by a licensed plumber.
