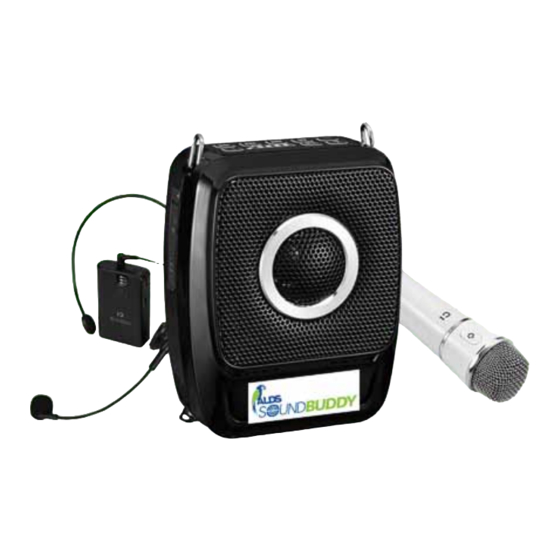
ALDS SOUND BUDDY S92 Gebrauchsanweisung - Seite 4
Blättern Sie online oder laden Sie pdf Gebrauchsanweisung für Lautsprechersystem ALDS SOUND BUDDY S92 herunter. ALDS SOUND BUDDY S92 4 Seiten.

6. Previous / fast backward button: In the TF card or USB mode, a
short press of the button will go back to last track. A long press of the
button will fast backward through the sound tracks.
7. Volume +: Short press the button to increase the volume step by
step. A long press of the button will increase volume quickly
8. Volume -: Short press the button to decrease the volume step by step.
A long press of the button will decrease the volume quickly
9. Battery capacity display: In the power on status, a quick press of
either the volume increase or decrease button will display the battery
capacity left in the current charge.
10. Power & UHF pairing indicator
11. 3.5MM microphone jack port: If desired a microphone can be
plugged directly into the amplifier
12. 3.5MM AUX in port
13. DC 9V charging slot
14. TF card slot
15. USB slot
16. Strap hooks
17. Battery cover
Charging the amplifier: If a single bar of the battery indicator is flash-
ing, it is time to charge the unit. Only use the charger supplied with the
SoundBuddy to charge the amplifier. The battery icon will flash from bar
to bar when charging. When all four bars of the battery icon are no longer
blinking and solidly light-up, the amplifier is fully charged and ready for
use again.
Wireless Bluetooth iCloud amplification: To use in Bluetooth mode:
1. Turn on amplifier and switch to Bluetooth mode as required
2. Turn on your Bluetooth transmitting device and scan search for SD-S92
3. Click on SD-S92 and pairing should be successful. A voice prompt will
say "Bluetooth Connected"
Pairing & using the body pack transmitter:
Usage instructions:
1. Insert the wired 3.5MM microphone pin into the "MIC" input port of
the body pack transmitter
2. Switch the wheeled power switch to ON and the battery level indicator
will light up. (If the light does not come on, the transmitter will need to
be charged) Rotate the power switch / volume wheel to increase or
decrease volume output.
3. Rotate the power switch / volume wheel to the off position to turn the
body pack transmitter off.
*Make sure the body pack transmitter is OFF when charging the unit.
Pairing to the amplifier:
1. Turn on the SoundBuddy amplifier and then long press the UHF (4)
button and the red indicator light will flash, this means the amplifier
has entered into the UHF wireless pairing status
2. Long press the "PAIR" button on the body pack transmitter.
The red indicator lights will be solid red on both the amplifier and the
body pack transmitter when the pairing has been successful between
the two units.
Pairing should be automatic the next time you turn on both the amplifier
and body pack transmitter.
Charging the body pack transmitter:
1. Make sure the transmitter is turned off and connect the charger to the
included charging source. When the three lights on the transmitter are
fully lit and no longer blinking, the unit is fully charged.
