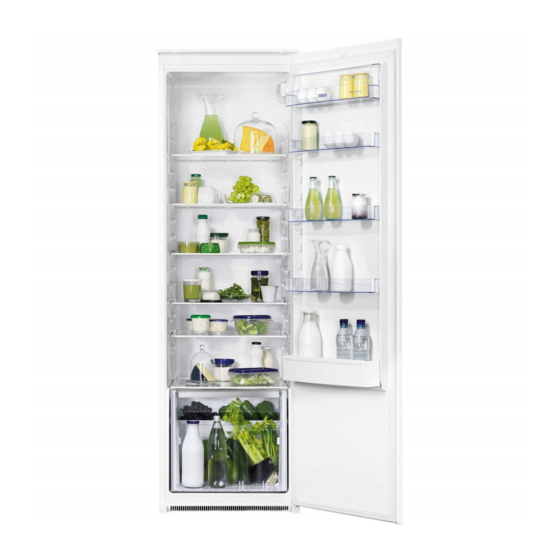
Zanussi ZBA32050SA Benutzerhandbuch - Seite 4
Blättern Sie online oder laden Sie pdf Benutzerhandbuch für Kühlschrank Zanussi ZBA32050SA herunter. Zanussi ZBA32050SA 13 Seiten.
Auch für Zanussi ZBA32050SA: Benutzerhandbuch (20 seiten), Benutzerhandbuch (25 seiten)

•
Do not store flammable gas and liquid in the
appliance.
•
Do not put flammable products or items that are
wet with flammable products in, near or on the
appliance.
•
Do not touch the compressor or the condenser.
They are hot.
INTERNAL LIGHT
•
The type of lamp used for this appliance is not
suitable for household room illumination
CARE AND CLEANING
WARNING! Risk of injury or damage
to the appliance.
•
Before maintenance, deactivate the appliance
and disconnect the mains plug from the mains
socket.
•
This appliance contains hydrocarbons in the
cooling unit. Only a qualified person must do the
maintenance and the recharging of the unit.
OPERATION
CONTROL PANEL
SWITCHING ON
1. Insert the plug into the wall socket.
2. Touch the temperature regulator button if all
LED are off.
SWITCHING OFF
Keep touching the temperature regulator button for
3 seconds.
All indicators light off.
4
1
2
4
3
•
Regularly examine the drain of the appliance and
if necessary, clean it. If the drain is blocked,
defrosted water collects in the bottom of the
appliance.
DISPOSAL
WARNING! Risk of injury or
suffocation.
•
Disconnect the appliance from the mains
supply.
•
Cut off the mains cable and discard it.
•
Remove the door to prevent children and pets
to be closed inside of the appliance.
•
The refrigerant circuit and the insulation
materials of this appliance are ozone-friendly.
•
The insulation foam contains flammable gas.
Contact your municipal authority for information
on how to discard the appliance correctly.
•
Do not cause damage to the part of the cooling
unit that is near the heat exchanger.
Temperature indicator LED
1
QuickChill indicator
2
QuickChill button
3
Temperature regulator
4
ON/OFF button
TEMPERATURE REGULATION
To operate the appliance, touch the temperature
regulator until the LED corresponding to the
required temperature lights up. Selection is
progressive, varying from 2°C to 8°C.
Coldest setting: +2°C.
Warmest setting: +8°C.
A medium setting is generally the most
suitable.
