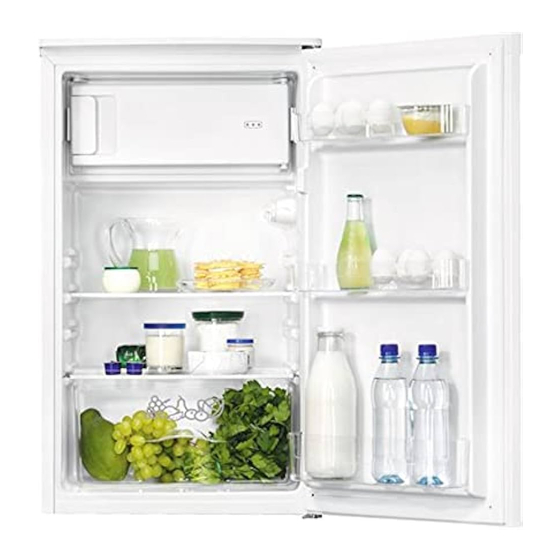
Zanussi ZXAN9FW0 Benutzerhandbuch - Seite 7
Blättern Sie online oder laden Sie pdf Benutzerhandbuch für Kühlschrank Zanussi ZXAN9FW0 herunter. Zanussi ZXAN9FW0 21 Seiten.

CAUTION! If you install the appliance
next to a wall, refer to the installation
instructions to understand the
minimum distance between the wall
and the side of the appliance where
door hinges are to provide enough
space to open the door when the
internal equipment is removed (e.g.
when cleaning).
This appliance is intended to be used at ambient
temperature ranging from 16°C to 38°C.
The correct operation of the appliance
can only be guaranteed within the
specified temperature range.
If you have any doubts regarding
where to install the appliance, please
turn to the vendor, to our customer
service or to the nearest Authorised
Service Centre.
It must be possible to disconnect the
appliance from the mains power
supply. The plug must therefore be
easily accessible after installation.
ELECTRICAL CONNECTION
•
Before plugging in, ensure that the voltage and
frequency shown on the rating plate correspond
to your domestic power supply.
•
The appliance must be earthed. The power
supply cable plug is provided with a contact for
this purpose. If the domestic power supply
socket is not earthed, connect the appliance to
a separate earth in compliance with current
regulations, consulting a qualified electrician.
•
The manufacturer declines all responsibility if
the above safety precautions are not observed.
•
This appliance complies with the E.E.C.
Directives.
LEVELLING
When placing the appliance make sure that it
stands level. This can be achieved by two
adjustable feet at the bottom in front.
DOOR REVERSIBILITY
WARNING! Before carrying out any
operations, remove the plug from the
power socket.
1. Make sure the appliance stands upright.
2. Open the door and remove the door
equipment. Refer to the "Daily Use" chapter.
Close the door.
3. Unscrew the screws on the back of the top
cover.
4. Lift the top cover and place it on a soft surface.
5. Remove the decorative cover and put it in a
safe place.
6. Unscrew the 2 screws that connect the upper
hinge. Put the upper hinge in a safe place
together with the screws.
7. Lift the door and put it on a soft surface.
8. Tilt the appliance carefully on a soft foam
packaging or similar material to avoid any
damage to the back of the appliance and the
floor.
9. Remove the upper plug and transfer it to the
uncovered hole of the upper hinge on the other
side of the appliance. Press the plug firmly into
the hole.
10. Unscrew the screws of the bottom hinge and
adjustable feet. Transfer them to the other side
of the appliance.
7
