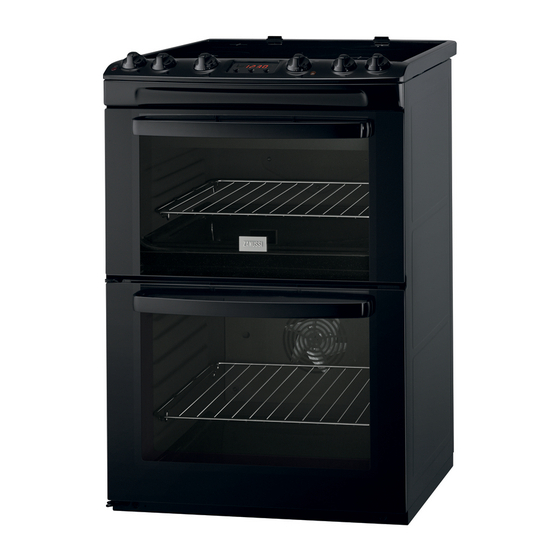
Zanussi ZCV665MN Benutzerhandbuch - Seite 15
Blättern Sie online oder laden Sie pdf Benutzerhandbuch für Herde Zanussi ZCV665MN herunter. Zanussi ZCV665MN 24 Seiten. Cooker
Auch für Zanussi ZCV665MN: Benutzerhandbuch (20 seiten)

Information on acrylamides
Important! According to the newest scientific
knowledge, if you brown food (specially the one
Oven - Care and cleaning
Warning! Refer to "Safety information"
chapter.
• Clean the front of the appliance with a soft
cloth with warm water and cleaning agent.
• To clean metal surfaces use a usual cleaning
agent
• Clean the oven interior after each use. Thus
you can remove dirt more easily and it does
not burn on.
• Clean stubborn dirt with a special oven
cleaner.
• Clean all oven accessories (with a soft cloth
with warm water and cleaning agent) after
each use and let them dry.
• If you have nonstick accessories, do not
clean them using an aggressive agents,
sharp edged objects or dishwasher. It can
destroy nonstick coating!
Stainless steel or aluminium applian-
ces:
Clean the oven door with a wet sponge only.
Dry it with a soft cloth.
Do not use steel wool, acids or abrasive materi-
als as they can damage the oven surface.
Clean the oven control panel with the same
precautions
Oven Ceiling
You can fold down the heating element on the
oven ceiling to clean the oven ceiling easily.
Folding down the heating element
1. Remove the shelf support rails.
2. Hold the heating element with the two
hands at the front
3. Pull it forwards against the spring pressure
and out along the support on both sides.
4. The heating element folds down.
The oven ceiling is ready to clean.
www.zanussi.com
which contains starch), acrylamides can pose a
health risk. Thus, we recommend that you cook
at the lowest temperatures and do not brown
food too much.
Installing the heating element
1. Install the heating element in opposite se-
quence.
Important! Install the heating element correctly
on the two sides above the support on the
inner wall of the oven.
2. Insert shelf support rails.
Cleaning the top oven glass panels
The door glass on your product can be dif-
ferent in type and shape from what you
see in diagrams. The number of glasses can be
different.
Removing the glass:
1. Open the door.
2. Push the door trim at both sides to release
the clips. Refer to the picture.
3. Remove the glass panels.
15
