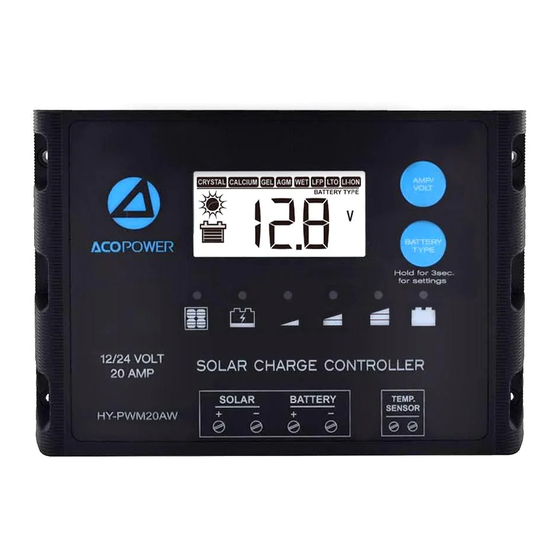
ACOPOWER HY-PWM20AW Benutzerhandbuch - Seite 3
Blättern Sie online oder laden Sie pdf Benutzerhandbuch für Controller ACOPOWER HY-PWM20AW herunter. ACOPOWER HY-PWM20AW 8 Seiten. Solar charge controller input: dc12v solar panel (max.25v) output: dc12v, 10a / 15a / 20a input: dc12/24v solar panel (max.52v) output: dc12/24v, 10a / 15a / 20a

Always install a battery fuse on each circuit including the solar controller
●
● Do not disassemble charger, take it to a qualified person when repair is required.
● Do not reverse connect the wires to the solar panel or battery
●Appliances incorporating batteries which contain materials hazardous to the environment.
FEATURES-
- Common negative grounding connection
- PWM technology, switching control by MOSFET
- High efficiency and low power consumption
- Battery type setting and battery condition indication
- Smart charging control, Charging time management
- LED indication for the battery condition and charging statues
- Digital display charging parameters and battery settings
- Automatically active to Lithium battery against BMS protection
- Thermal protection
- Over voltage protection, Short circuit protection, Reverse polarity protection
- No sparks
- Water proof
- Solid-duty cables
- Corrosion-resistant terminals and connectors
- Flexible cable connection method
INSTALLATION-
The Solar Controller is mounted as shown below
The quickest and easiest way to mount the unit is to use the four (4) plastic spacers and self-tapping
screws supplied and mount the unit to a flat surface.
WIRING CONNECTIONS
To protect the Battery and the Solar Panel, we strongly recommend that you place an inline fuse on
the positive wire on both the "Solar" and "Battery" Circuits. 40A fuse for 20A controller; 30A fuse for
15A controller, 20A fuse for 10A controller (As close to the Battery /Panel as possible)
.
P.3/8
